
How to Make sourdough starter
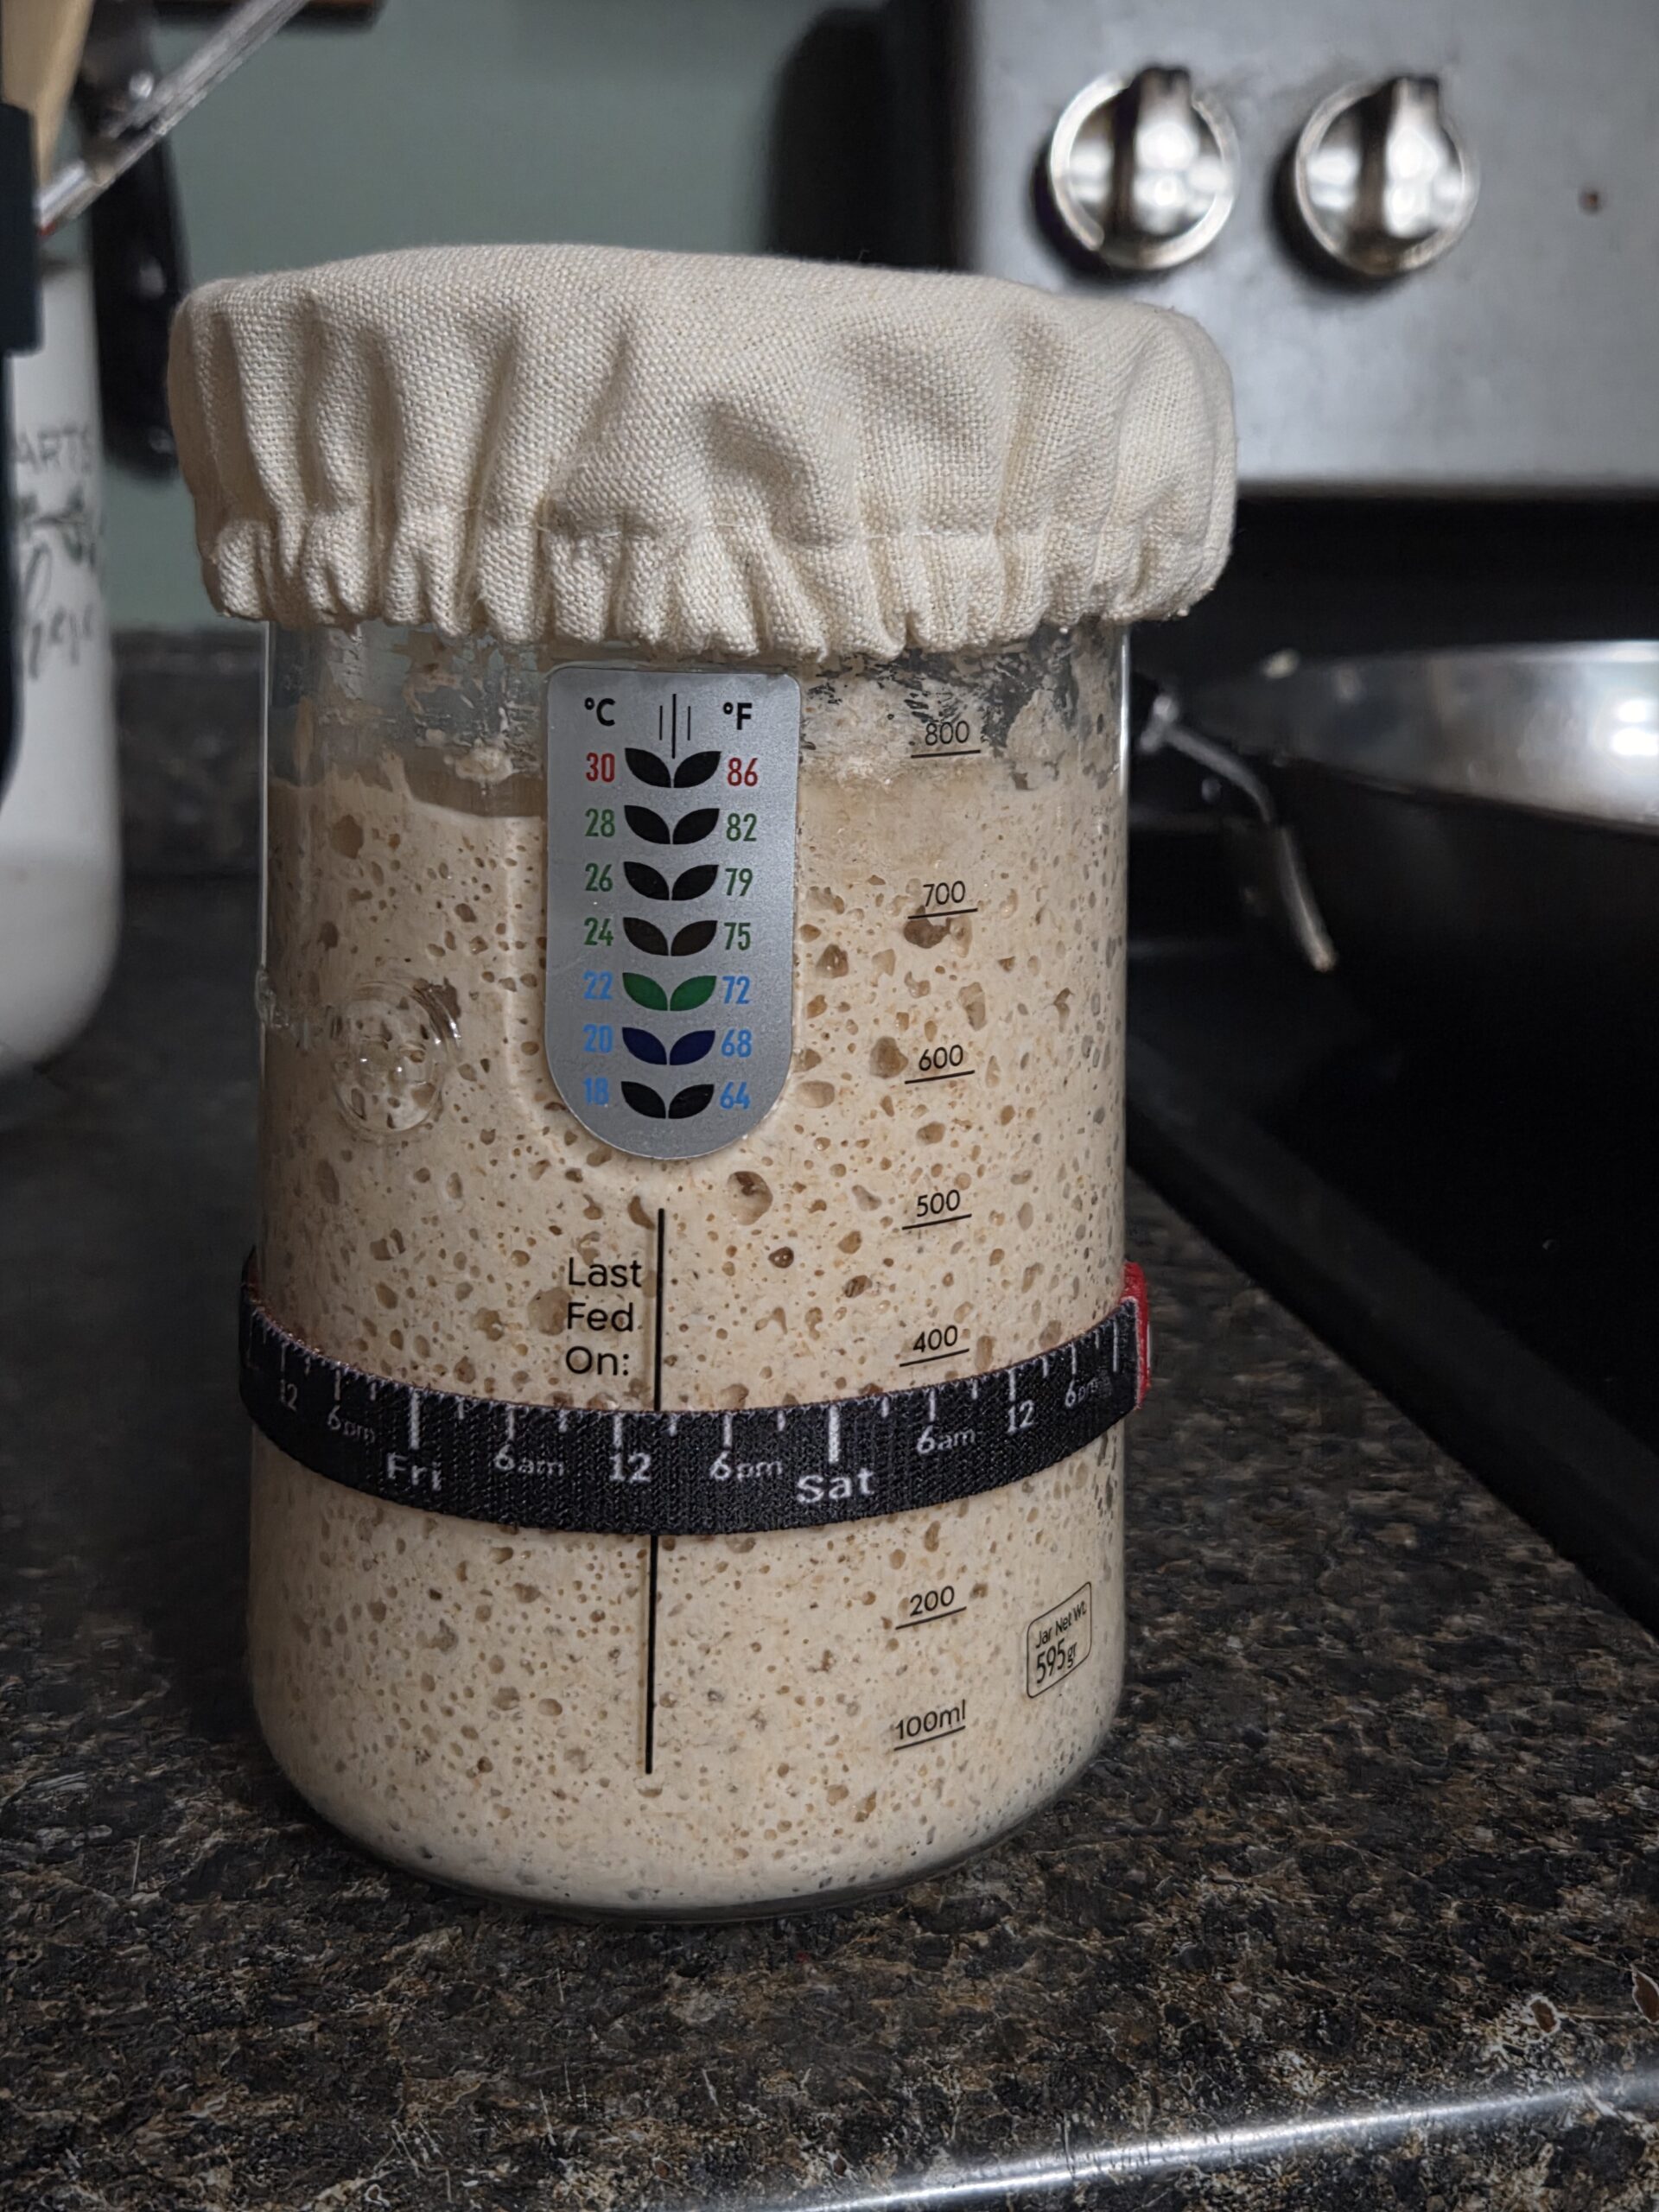
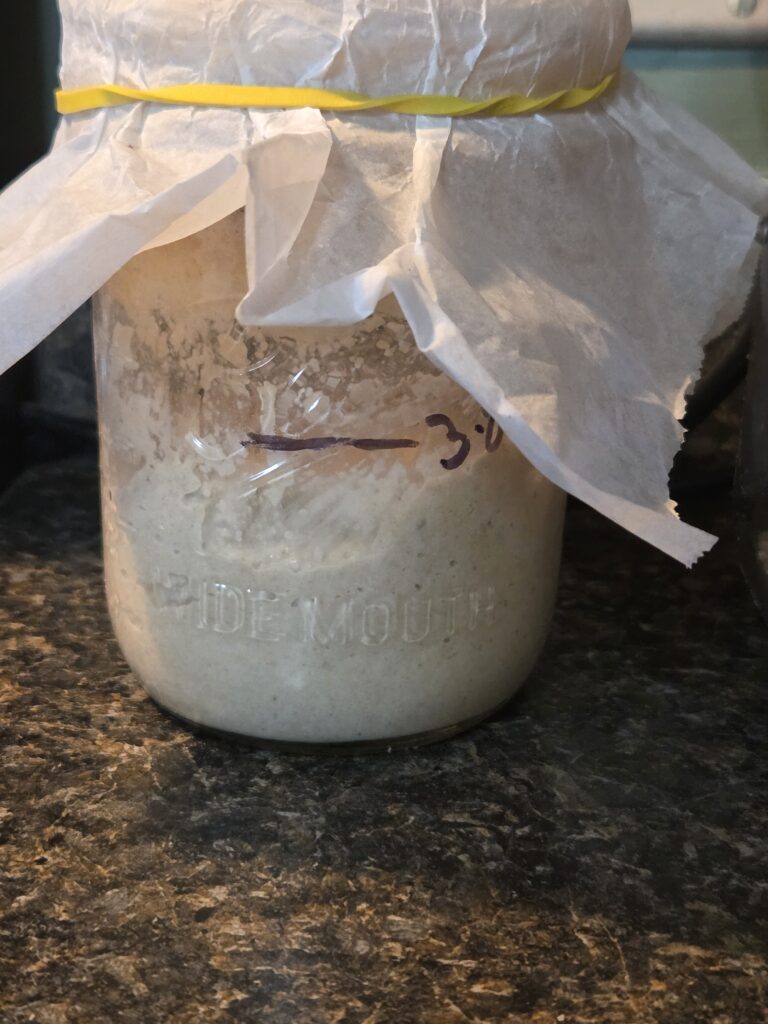
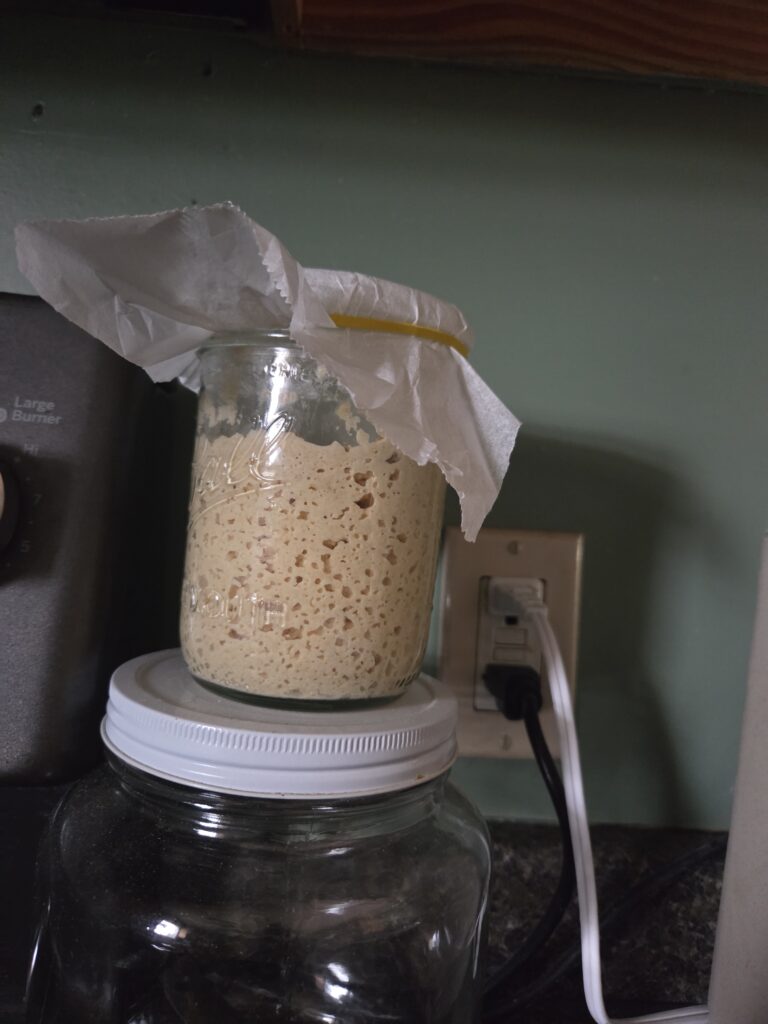
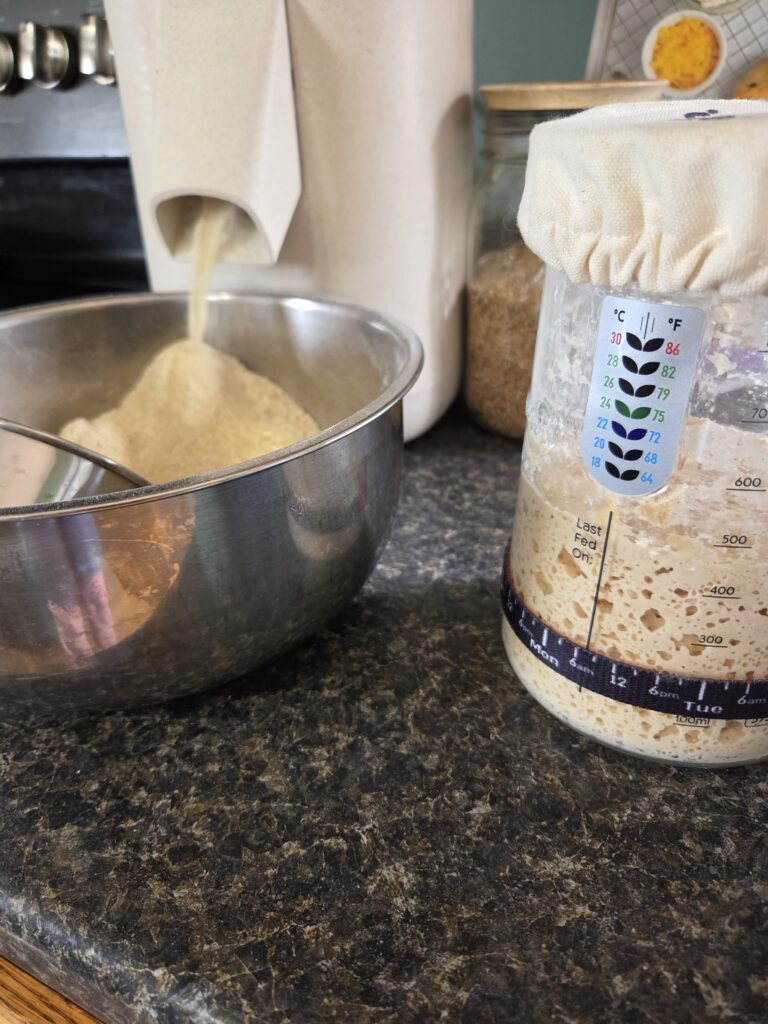
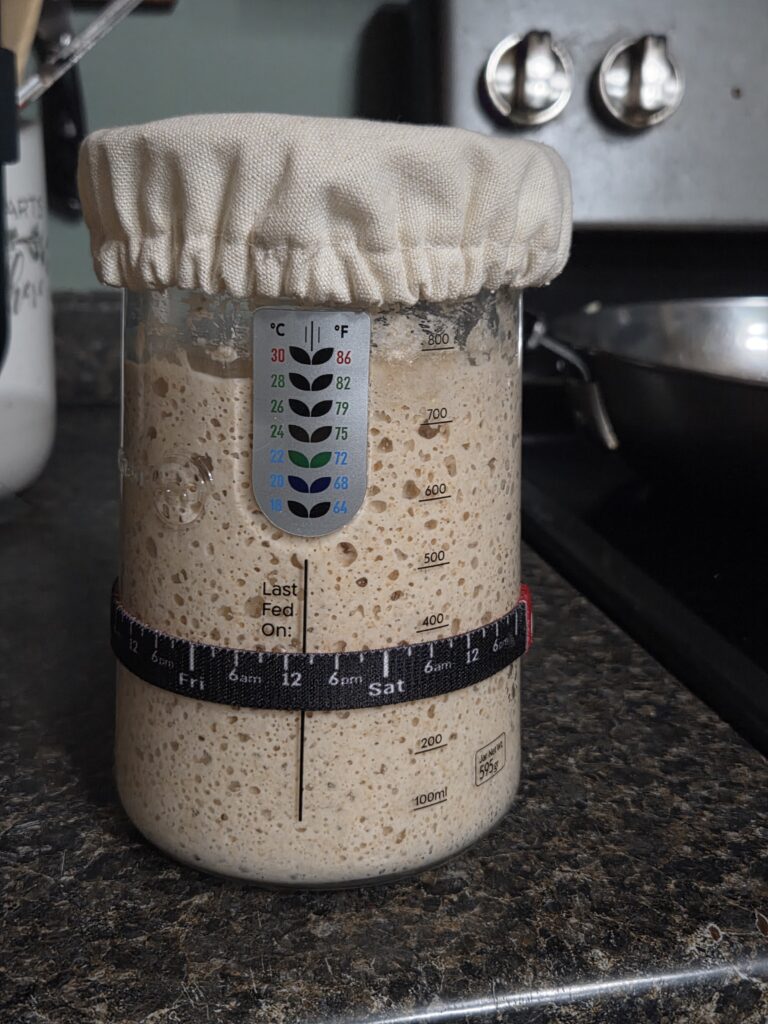
It all started in a little jar and look at it now!
If you don’t already have an established starter, this recipe will get you started on your sourdough journey! This process takes about 14 days, don’t let that discourage you, It is easy as you go and will become apart of your routine.
Ingredients you need…
- 50grams Fresh-Milled-Flour
- 50grams non-chlorinated water
Instructions
Day One:
Combine 50 grams of non-chlorinated room temperature water and 50 grams fresh milled flour. Stir until no dry flour is left. Cover loosely in a glass jar and let sit 24 hrs at room temp.
*You can also mark the jar or use a rubber band after each feed to see if it is growing or how much it grows.
Day Two:
This day you are just going to check on your starter to make sure there is no mold and that it smells like it is fermenting. Cover loosely again, and let it sit for another 24 hrs.
Day Three:
Take 50 grams of your starter, place in a clean bowl and combine it with 50 grams flour and water. Place in a new jar and discard any extra starter that was in the old jar. Cover the new jar loosely and let sit for 24 hrs.
*You should start seeing some activity this day, it should smell kinda sweet and may have risen a bit. But it will not be ready yet.
Day Four-Six:
Repeat the same steps as day 3, Remove 50 grams starter, add 50 grams flour and water and cover and let sit 24hrs. It may have some days where it does not smell very good and may not even rise but that is normal, it is still working.
Day Seven-Fourteen :
Now you will begin feeding the starter twice a day, as close to 12hrs between each feeding as you can. Repeat the same process for seven days. Take out 50 grams starter, add 50 grams flour and water, feed twice each day and let it sit overnight. This will make your starter active and strong.
On day ten, as long as your starter has been actively doubling, you can start to use the discard in a recipe I recommend making a muffin recipe or something easy like my banana muffins! Its strong enough for muffins or cookies but not quite strong enough for bread yet.
If your starter has not been doubling in size, continue to feed it twice a day, twelve hours apart.
Day Fourteen:
On this day your starter should be active, bubbly and doubling in size each day and ready to make your first loaf of bread! Now, it may not turn out perfect and that’s ok. Continue to feed your starter day by day and it will become stronger. If your starter doubles between 6-8 hours after feeding it should be ready to make bread.
Make sure that every time you are wanting to use your starter that you have enough for the recipe you want to use. So make sure you feed it enough so that you don’t use it all up and have to start the process of making starter again. So just make sure you are left with 50 grams in the jar that you can feed and use the next day.
Additional Notes
- Since your starter is established, you can feed it once a day but for best results you may need to feed it twice. You can also feed it with a different ratio for it to go longer between feedings.
- If you are not able to feed your starter at least once a day, you can feed it and place it in the fridge for up to a week, make sure if you are keeping it in the fridge to feed & discard it once a week.
- To use the starter after it has been in the fridge, you will need to allow it it come to room temperature, feed it and let it rise again before using.
- If your starter develops a brownish liquid on top, it is hungry. This is not dangerous, the liquid on the top just needs to be discarded and feed the starter as normal.
- If you see mold on or inside your starter, you will unfortunately need to discard the starter, clean the jar and start over.
- Make sure you always use filtered water that has no chlorine. Chlorine will kill the starter.
Products I use to make my sourdough starter
Recipe for your first loaf of sourdough bread!
*This post contains affiliate links which give me a small commission at no additional cost to you.

One Comment