
Fresh-Milled Flour Sourdough Bread
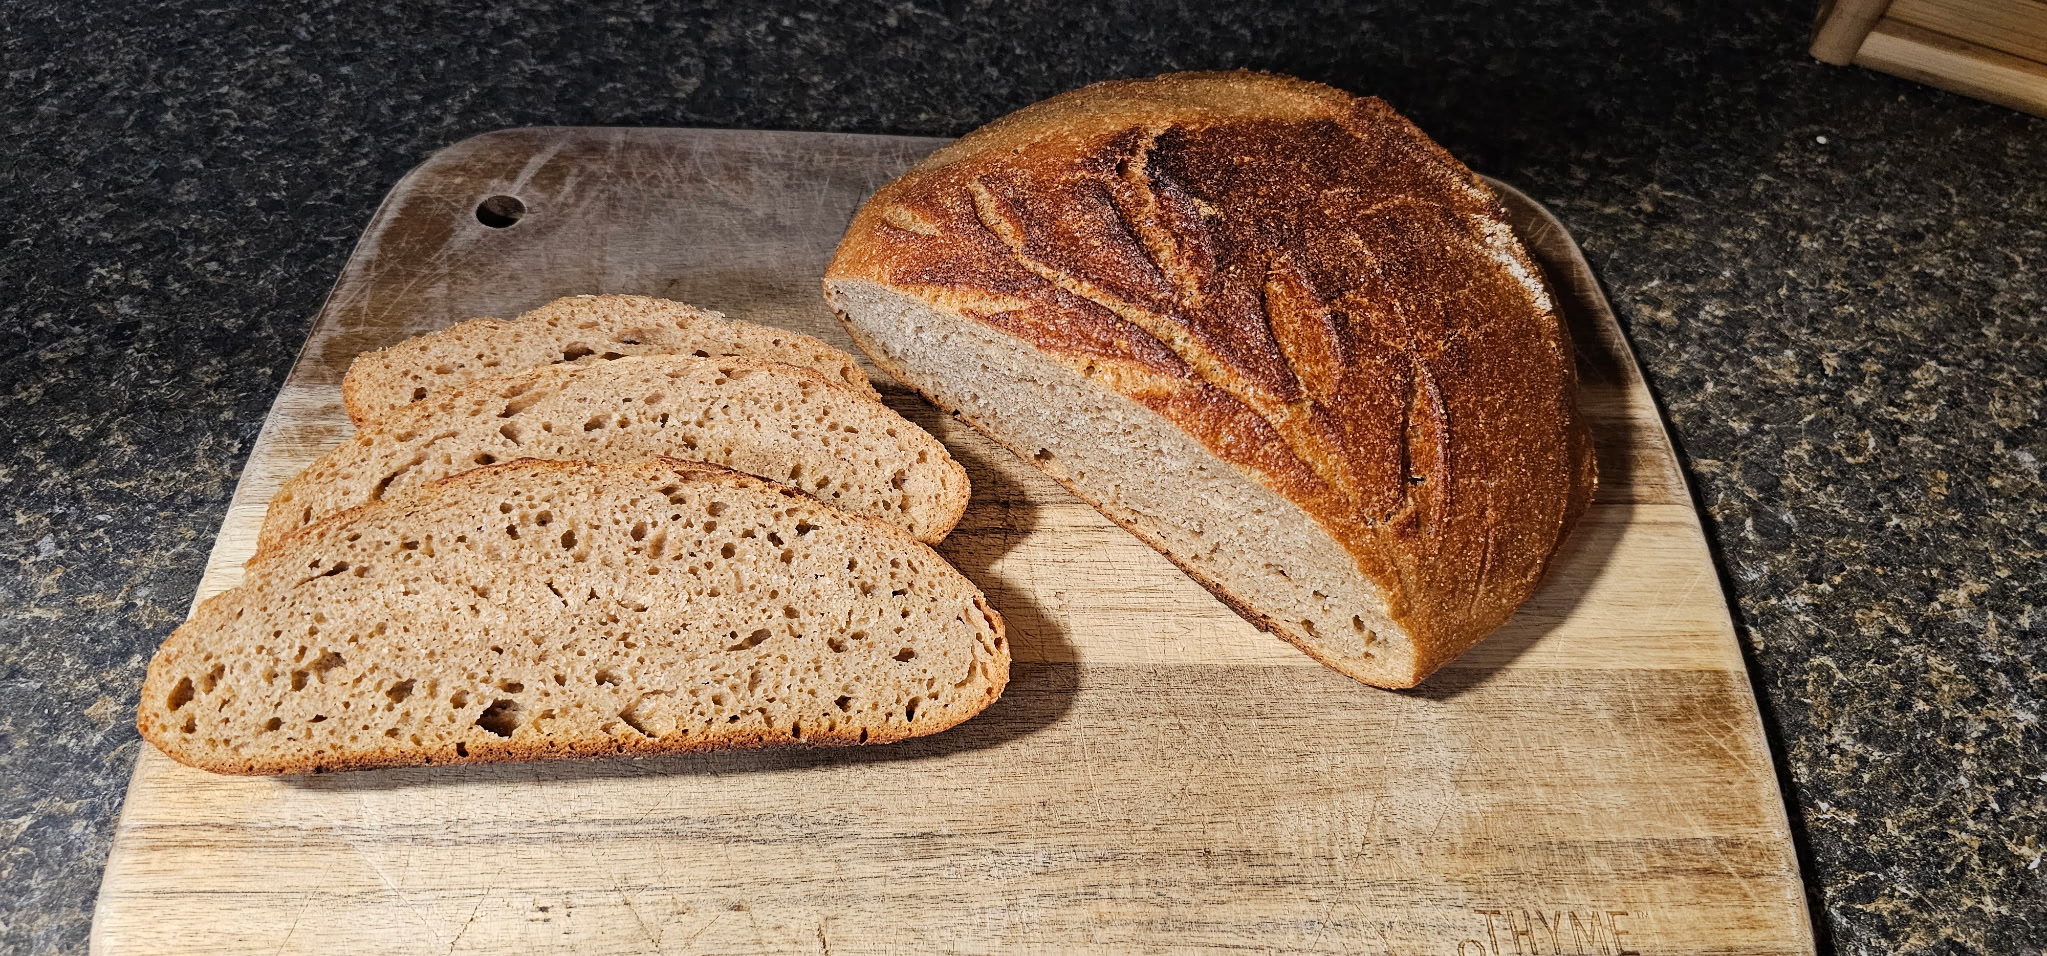
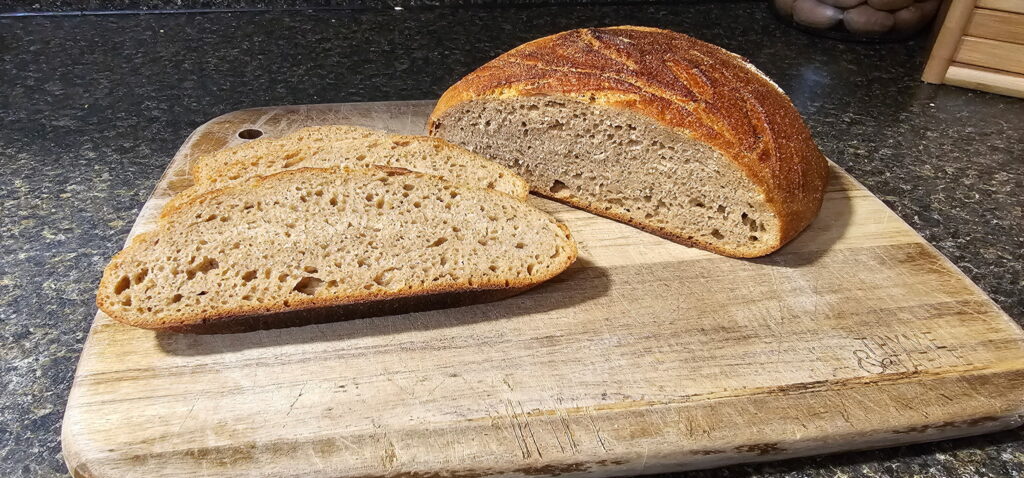
If you don’t already have a sourdough starter you can start Here
It took me a long time to be brave enough to attempt making sourdough bread, and now I love making it! It’s so fun to work with the dough and so peaceful to take time out of your day to just slow down. It does take a bit of a learning curve, but keep going and don’t give up! Once you get the hang of it, you will have no trouble making the loaves at all! This recipe is originally from GrainsinSmallPlaces; I just do a few things differently.
Tips when making a sourdough loaf
- Make sure your starter has been fed and is nice and bubbly! You want it to be strong enough so that it can rise the loaf.
- Be patient; everyone’s sourdough is different. Make sure to check your dough for signs of proper proofing. Some signs that your dough is ready are that it has doubled in size, has small bubbles, and if you poke the dough, it should slowly come back up.
- Have fun!
Products I use to make Sourdough Bread
Making the Dough
I normally place the bowl on the scale, pour in the water, add the starter and mix it all together first. Next, I add the flour and salt and combine all the ingredients to make a shaggy dough. I cover it and leave it to proof for 30 minutes. After that, I start the first round of stretch and folds every 30 mins for the first 3 rounds and then 1 hour between the last 2 rounds. That’s what works for me, but your dough may be different! You can do more or less stretch and folds, whatever works for you!
Shaping the Loaf
Everyone shapes their loaves differently. The way I do it is I form a rectangle, fold 2 of the long sides in the middle, then roll it up with surface tension and tuck in the ends. Last, I form it into a ball, dragging it around the counter to create tension. Flip it over into the floured banneton and stitch the bottom. Then I cover it and cold proof it in the fridge for 3 hours.
Baking the Bread
You can either bake your loaf in a preheated Dutch oven or open-bake your loaf on a cookie sheet and a pan of water. I’ve tried both ways, and I like the results of both options. After your dough has fully fermented/proofed, It’s time to score it! I turn my dough out onto a piece of parchment, sprinkle some flour on top, and then make any design I’m inspired to do; normally it’s just a wheat stalk, but it always looks so pretty!
Place your loaf with the parchment paper in the Dutch oven and put some ice cubes on the outside of the parchment. Bake with the lid on for 35 minutes, then lower the oven temp and bake with the lid off for 20 minutes.
I hope your loaf turns out amazing! You always learn something new with sourdough, and I’m still learning too! I just learned how to create an “ear” to get a bigger oven spring with your bread, so I will be doing that more often!
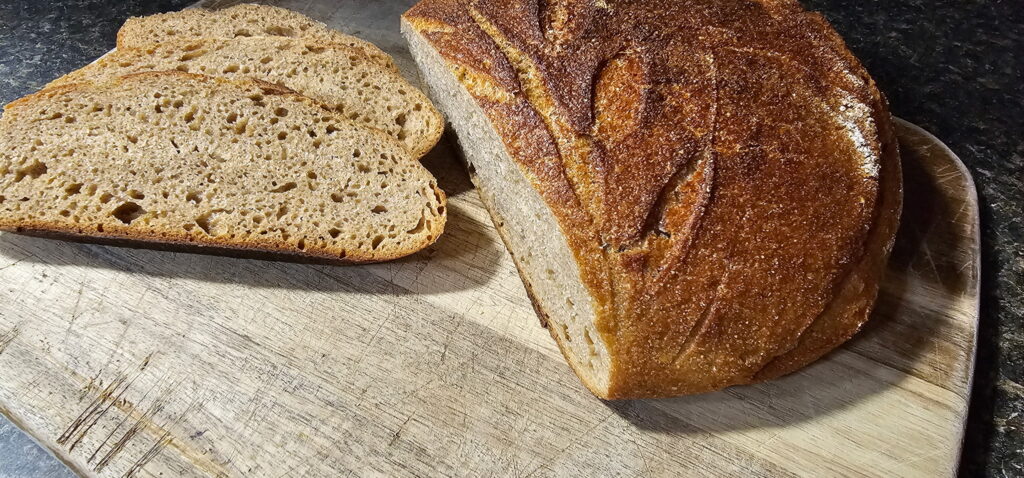
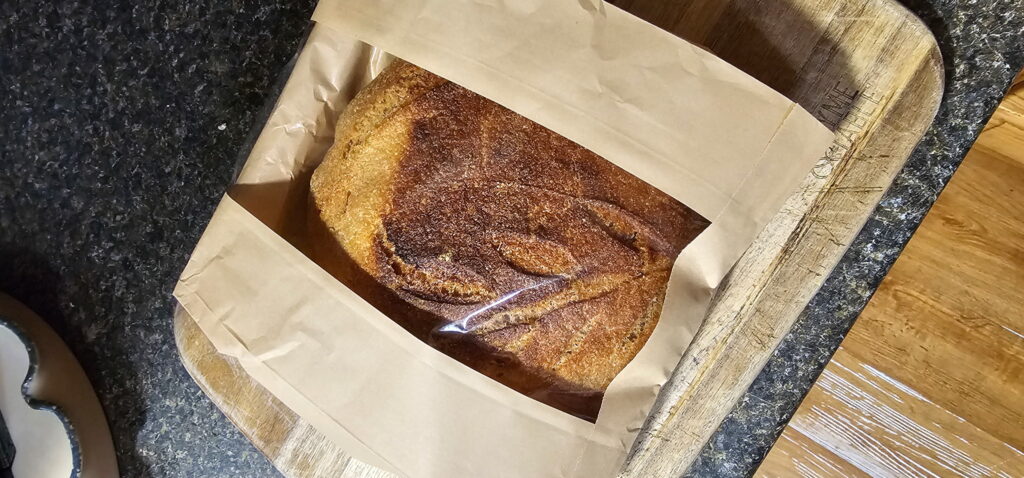
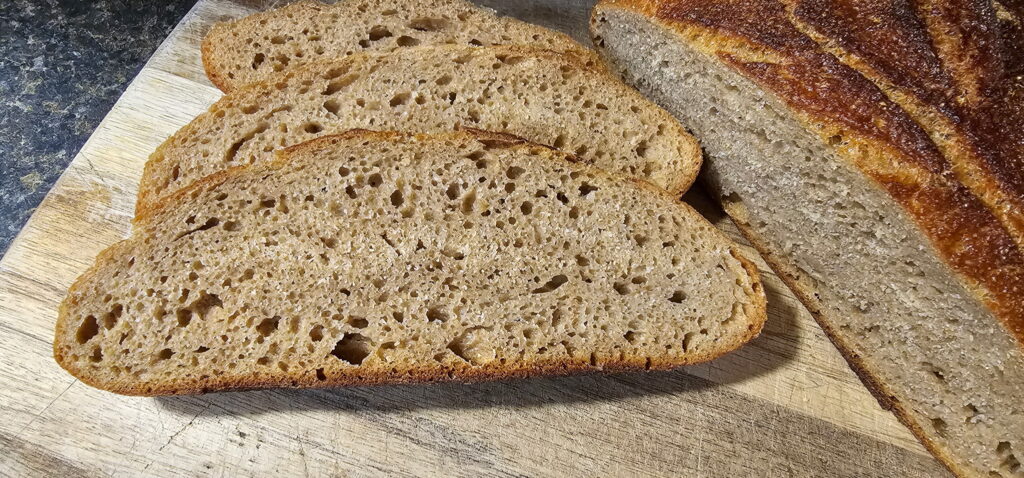
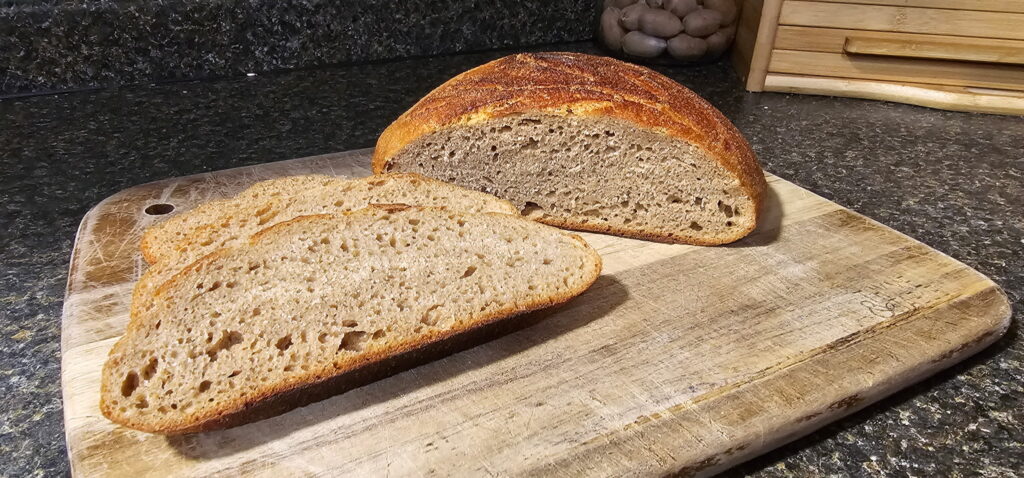
Some other loaves I’ve made
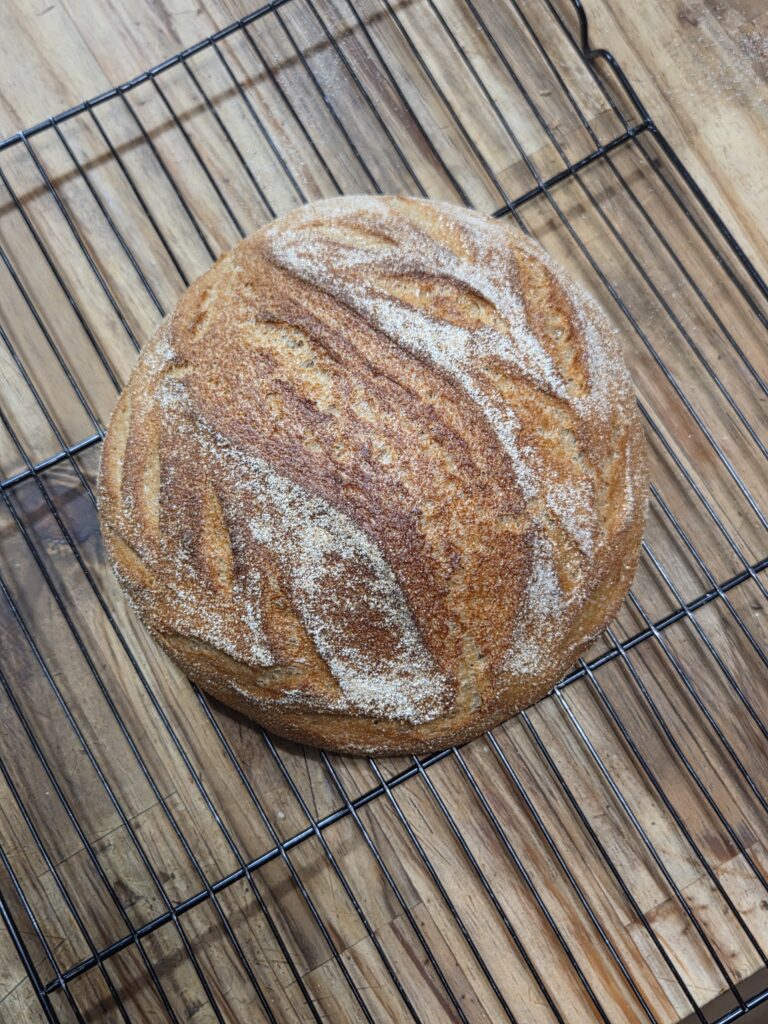
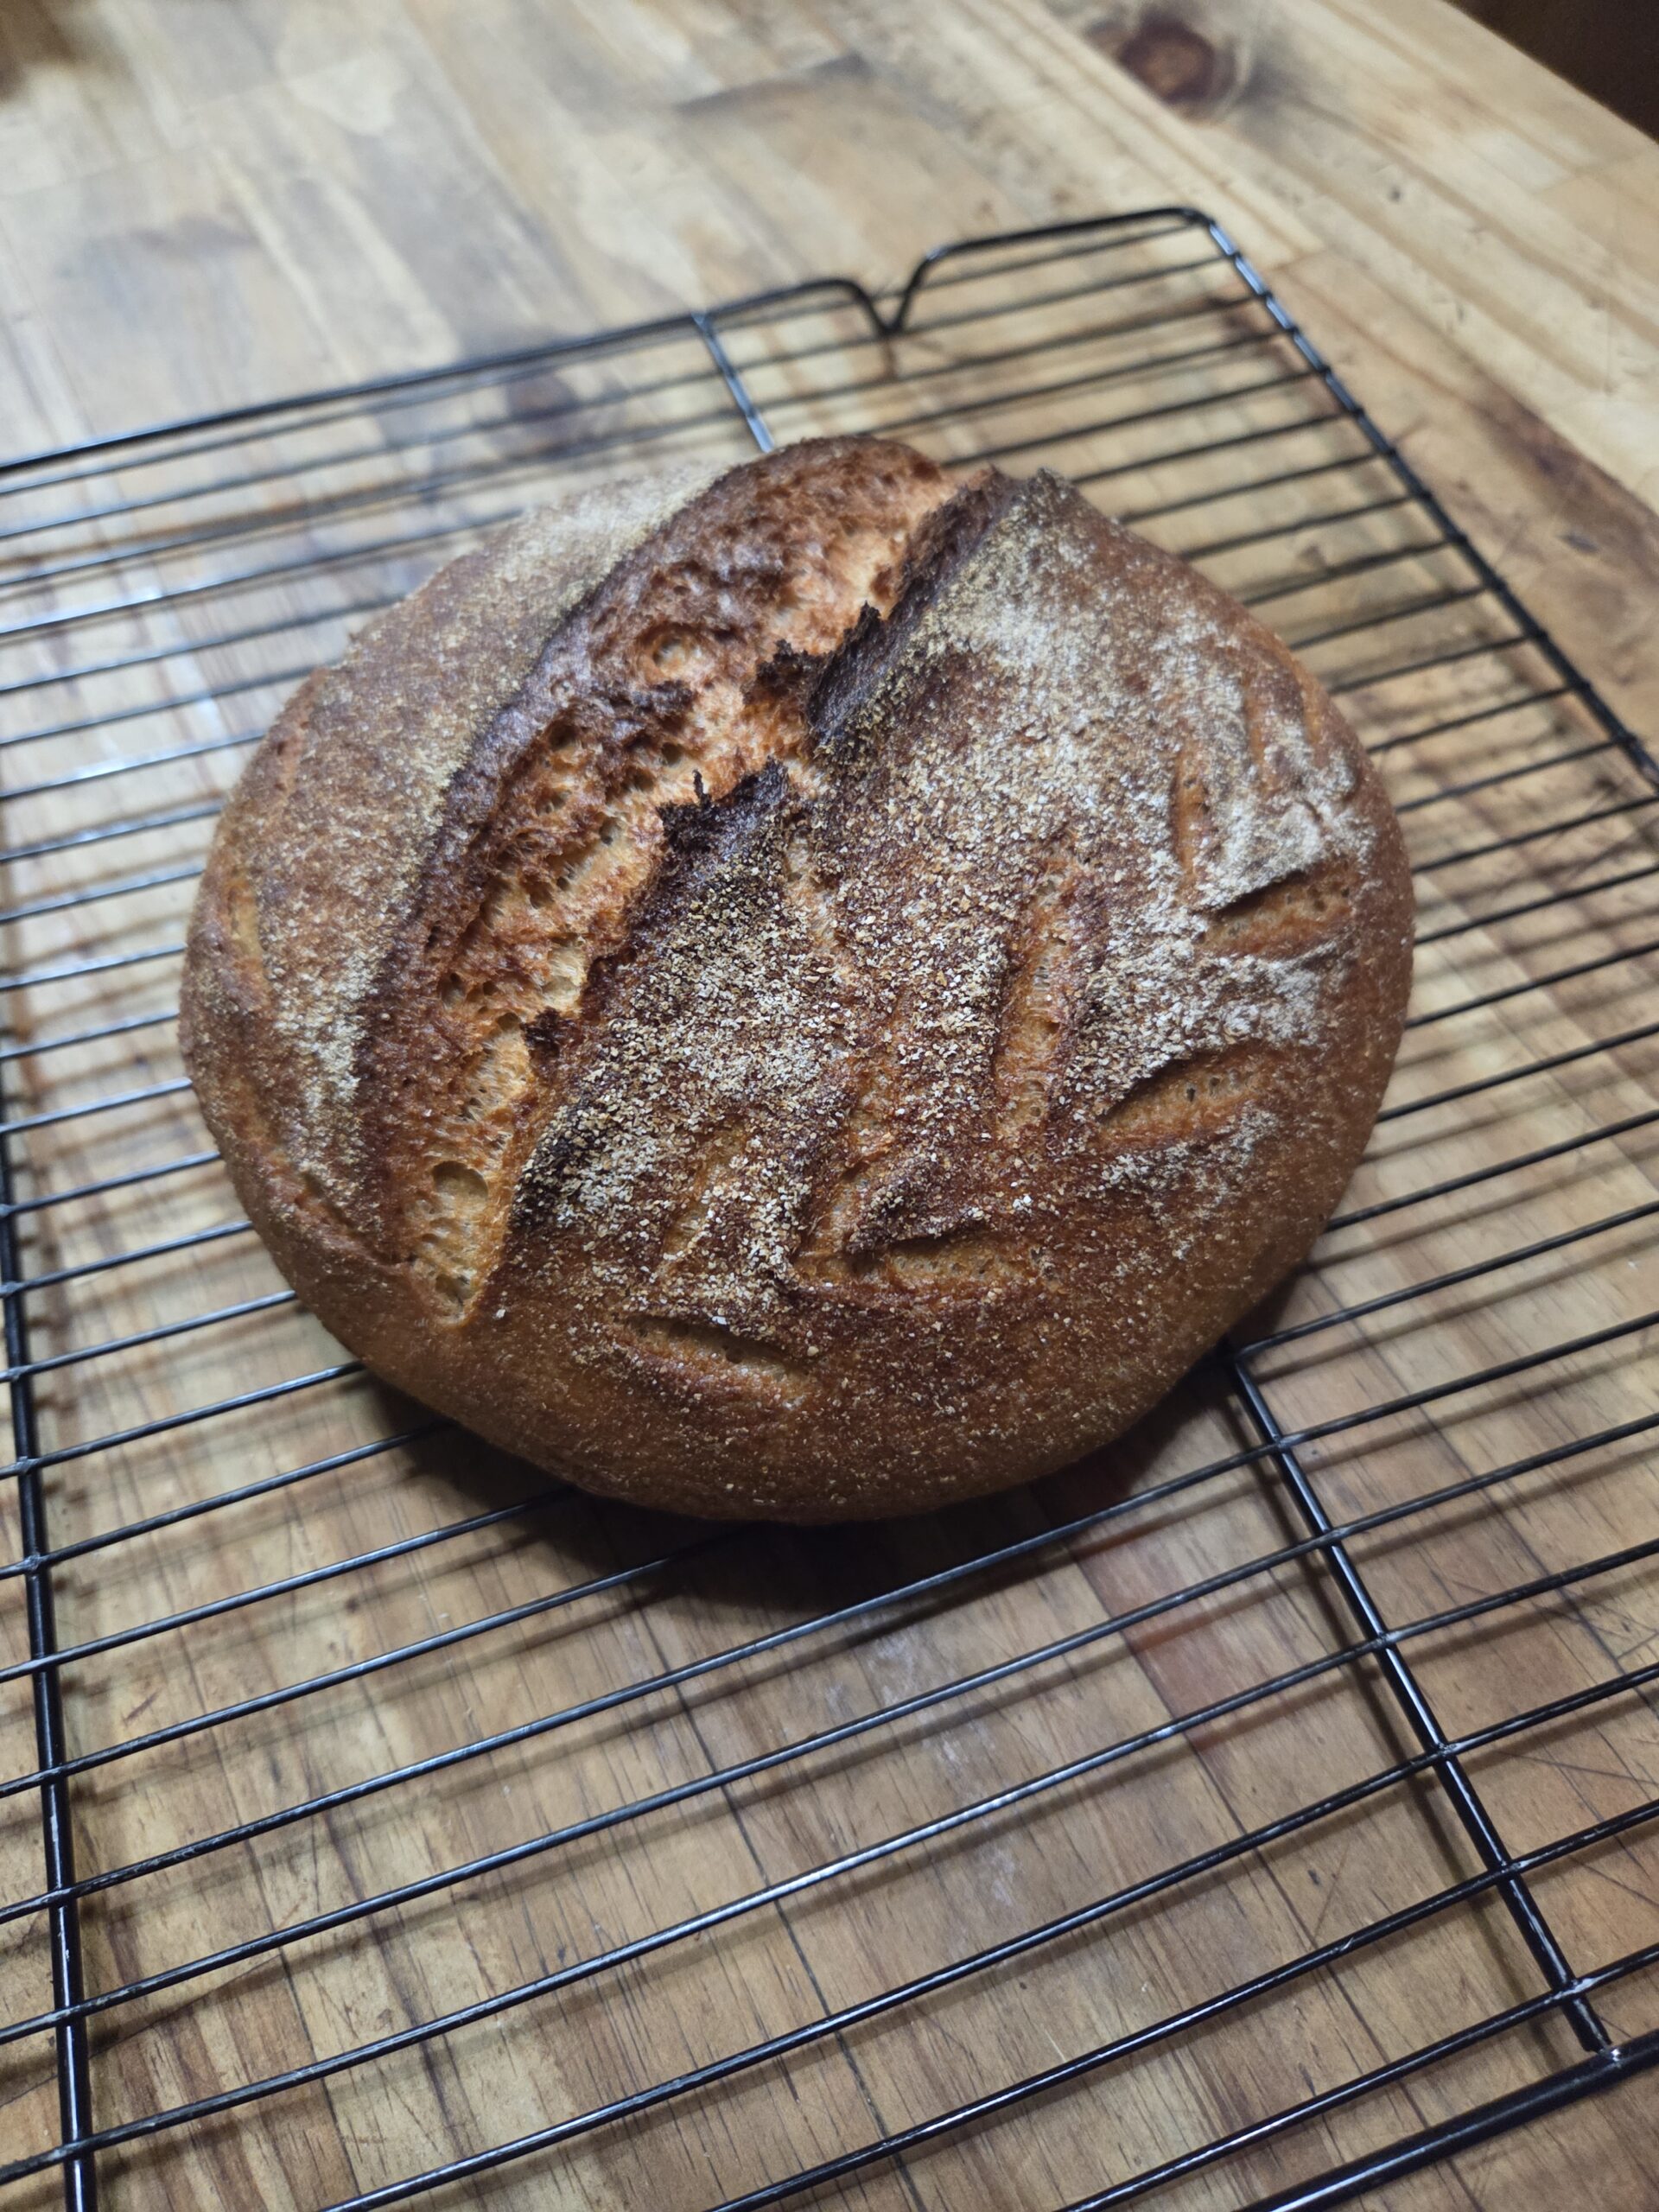
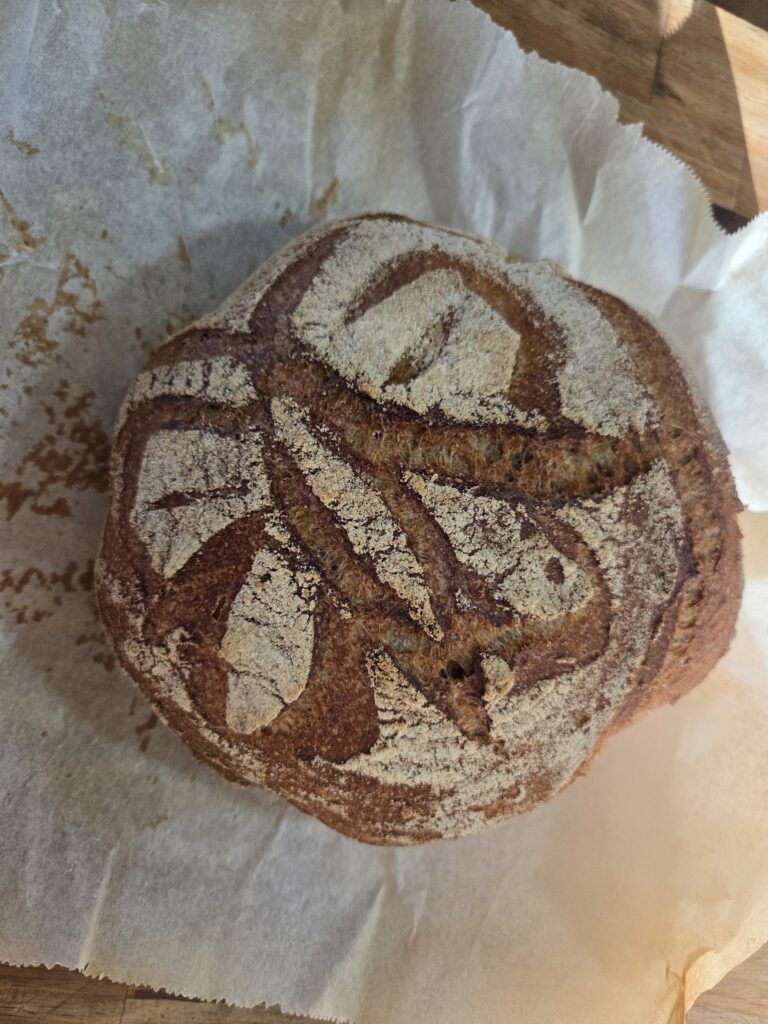
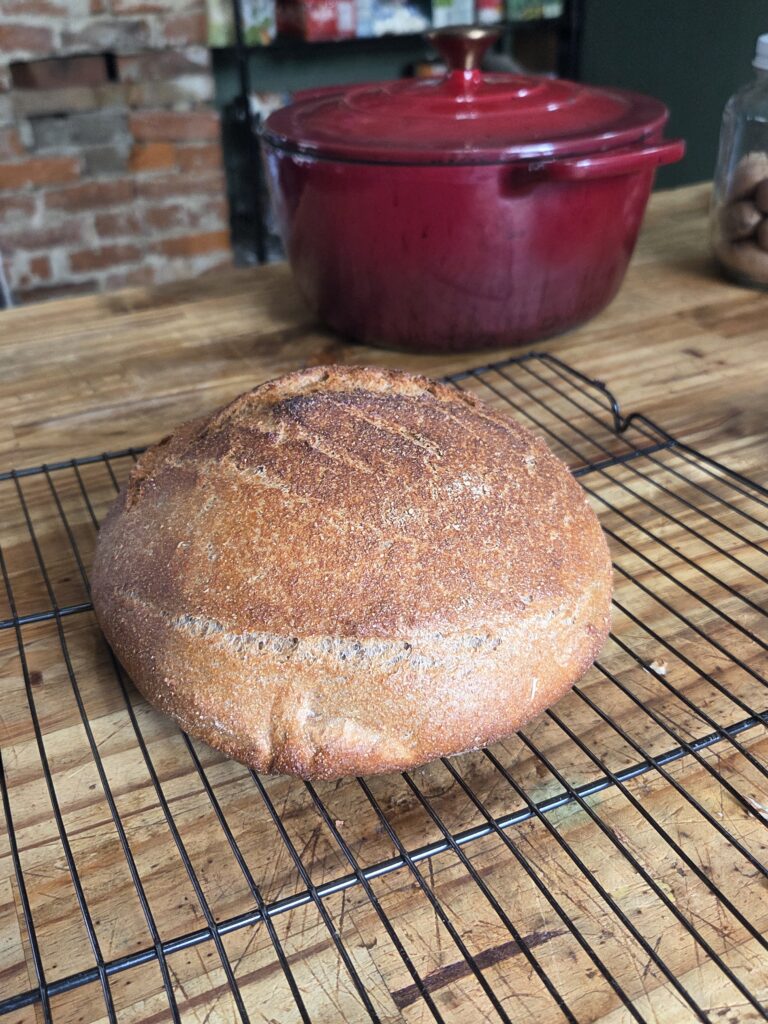
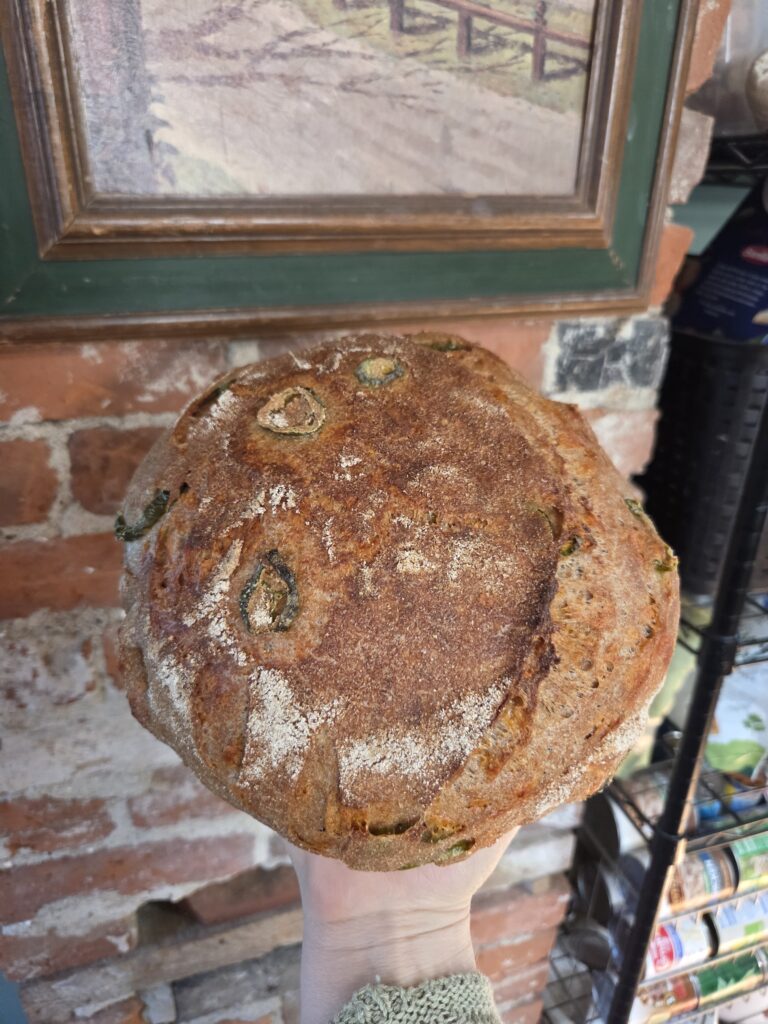
I love how every loaf you make turns out different! I get so excited when taking off the Dutch oven lid or opening the oven to see how the bread looks!
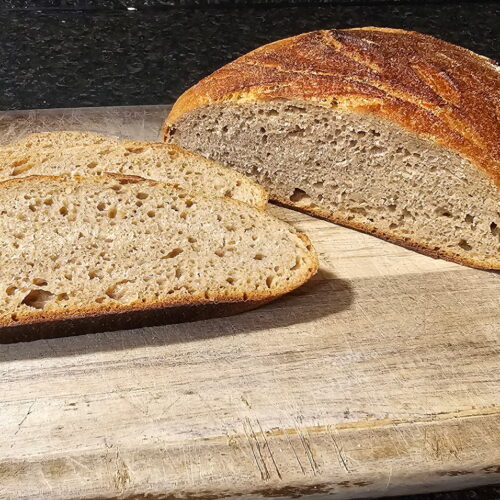
Fresh-Milled Flour sourdough bread
Equipment
- 1 Dutch oven Unless choosing to open-bake
- 1 large bowl
- towel or bowl cover
- kitchen scale
Ingredients
- 500 grams Fresh-milled flour I used ½ hard white and ½ Hard red wheat
- 450 grams Non-chlorinated, room temp. water
- 12 grams salt about 2 tsp.
- 115 grams sourdough starter ½ cup
Instructions
- First, make sure your starter is active and has been fed between 8 and 12 hours.
- Mill your flour. I milled ½hard white wheat and ½ hard red wheat.500 grams Fresh-milled flour
- In a large bowl, combine the water and starter.450 grams Non-chlorinated, room temp. water, 115 grams sourdough starter
- Next, add the flour and salt, and mix until a shaggy dough forms. Cover and set aside for 30 minutes.12 grams salt, 500 grams Fresh-milled flour
- After 30 minutes, you can start the first round of stretch-and-folds. Stretch your dough as far as it can without ripping. Turn the bowl and stretch and fold all the way around. This will begin the process of forming those air bubbles you want. Cover and let rest for another 30 minutes.
- Repeat the stretch and folds 4 times every 30 minutes. Then 2 stretch and folds an hour apart. The more you perform the stretch and folds, the stretchier the dough should be.
- Once the stretch and folding process is done, Gently turn out your dough on a lightly floured surface.
- Gently flatten the dough into a rectangle. Fold both long ends into the middle and then roll up the dough using surface tension. Then fold both ends and form a round loaf shape. Creating surface tension.
- Place in a floured banneton, seam side up. "Stitch" the seam together, cover, and place in the fridge to proof for 3 hours.
- Ten minutes before the cold proof is done, preheat your oven to 480℉ with the Dutch oven inside.
- Once the oven is preheated, take your banneton out of the fridge and flip the dough onto parchment paper. Sprinkle the top of the loaf with flour and score however you like.
- With oven mitts, take the Dutch oven out of the oven and place your parchment-lined loaf inside. Place a few ice cubes on the outside of the parchment paper inside the Dutch oven. This helps create extra steam to have a better oven spring.
- Place the Dutch oven with the lid on and bake for 35 minutes.
- After 35 minutes, remove the lid from the Dutch oven and bake for 25 minutes.
- When your loaf has finished baking, place it on a cooling rack and allow it to cool for at least an hour before slicing. This is important so that your loaf is completely cooked and doesn't turn out gummy.
- Slice and enjoy!
Notes
- You can store the bread for up to 3 days on the counter. You can store it in a paper bag, plastic bag, or an airtight container.
- You can store the bread in the freezer for up to 4 months. Just slice and place parchment in between each and store in a freezer-safe bag. That way it’s easy to just take a slice and toast it whenever you’re craving some sourdough bread!
*This post contains affiliate links which means I get a small commission at no additional cost to you! Also as an amazon associate I earn from qualifying purchases. But I will only recommend things I enjoy using!

Do you have a FMF starter recipe?
Thanks
Yes, if you don’t already have an established starter, you will want to start with 50 grams of FMF and 50 grams of filtered water. You will then cover it loosely and set it in a place at room temp for 24hrs. The next day, you will check and make sure it doesn’t have mold, and it should smell like it is fermenting. Then continue to let it sit another 24 hrs. On day 3, you will take 50 grams of your starter and add 50 grams of water and flour in a small bowl and mix. Place in a new jar and discard any extra starter. Cover loosely and let ferment for another 24 hrs. You may start to see activity and may even look risen, but it is not ready yet. Day 4-6: repeat the same thing you did for day 3. On day seven, you can start feeding twice a day. This will make your starter strong. Day 7 to 14: repeat the same steps as day 7, feeding twice a day, 12hrs apart. By day 14, if your starter has been active and doubling, you can start your first loaf of bread! It will get stronger as it gets older. Make sure you feed your starter enough flour and water you need for the recipe you are planning to make; you don’t want to use it all up on one recipe, or you will have to start over.
I hope this helps!
For my starter, once it was established, I used a 1:2:2 ratio. This makes it really strong and grows a lot more in volume.
I will also make a recipe card for sourdough starter. Thank you for asking!