
Mini Fresh-Milled Sourdough Loaves and a Picnic
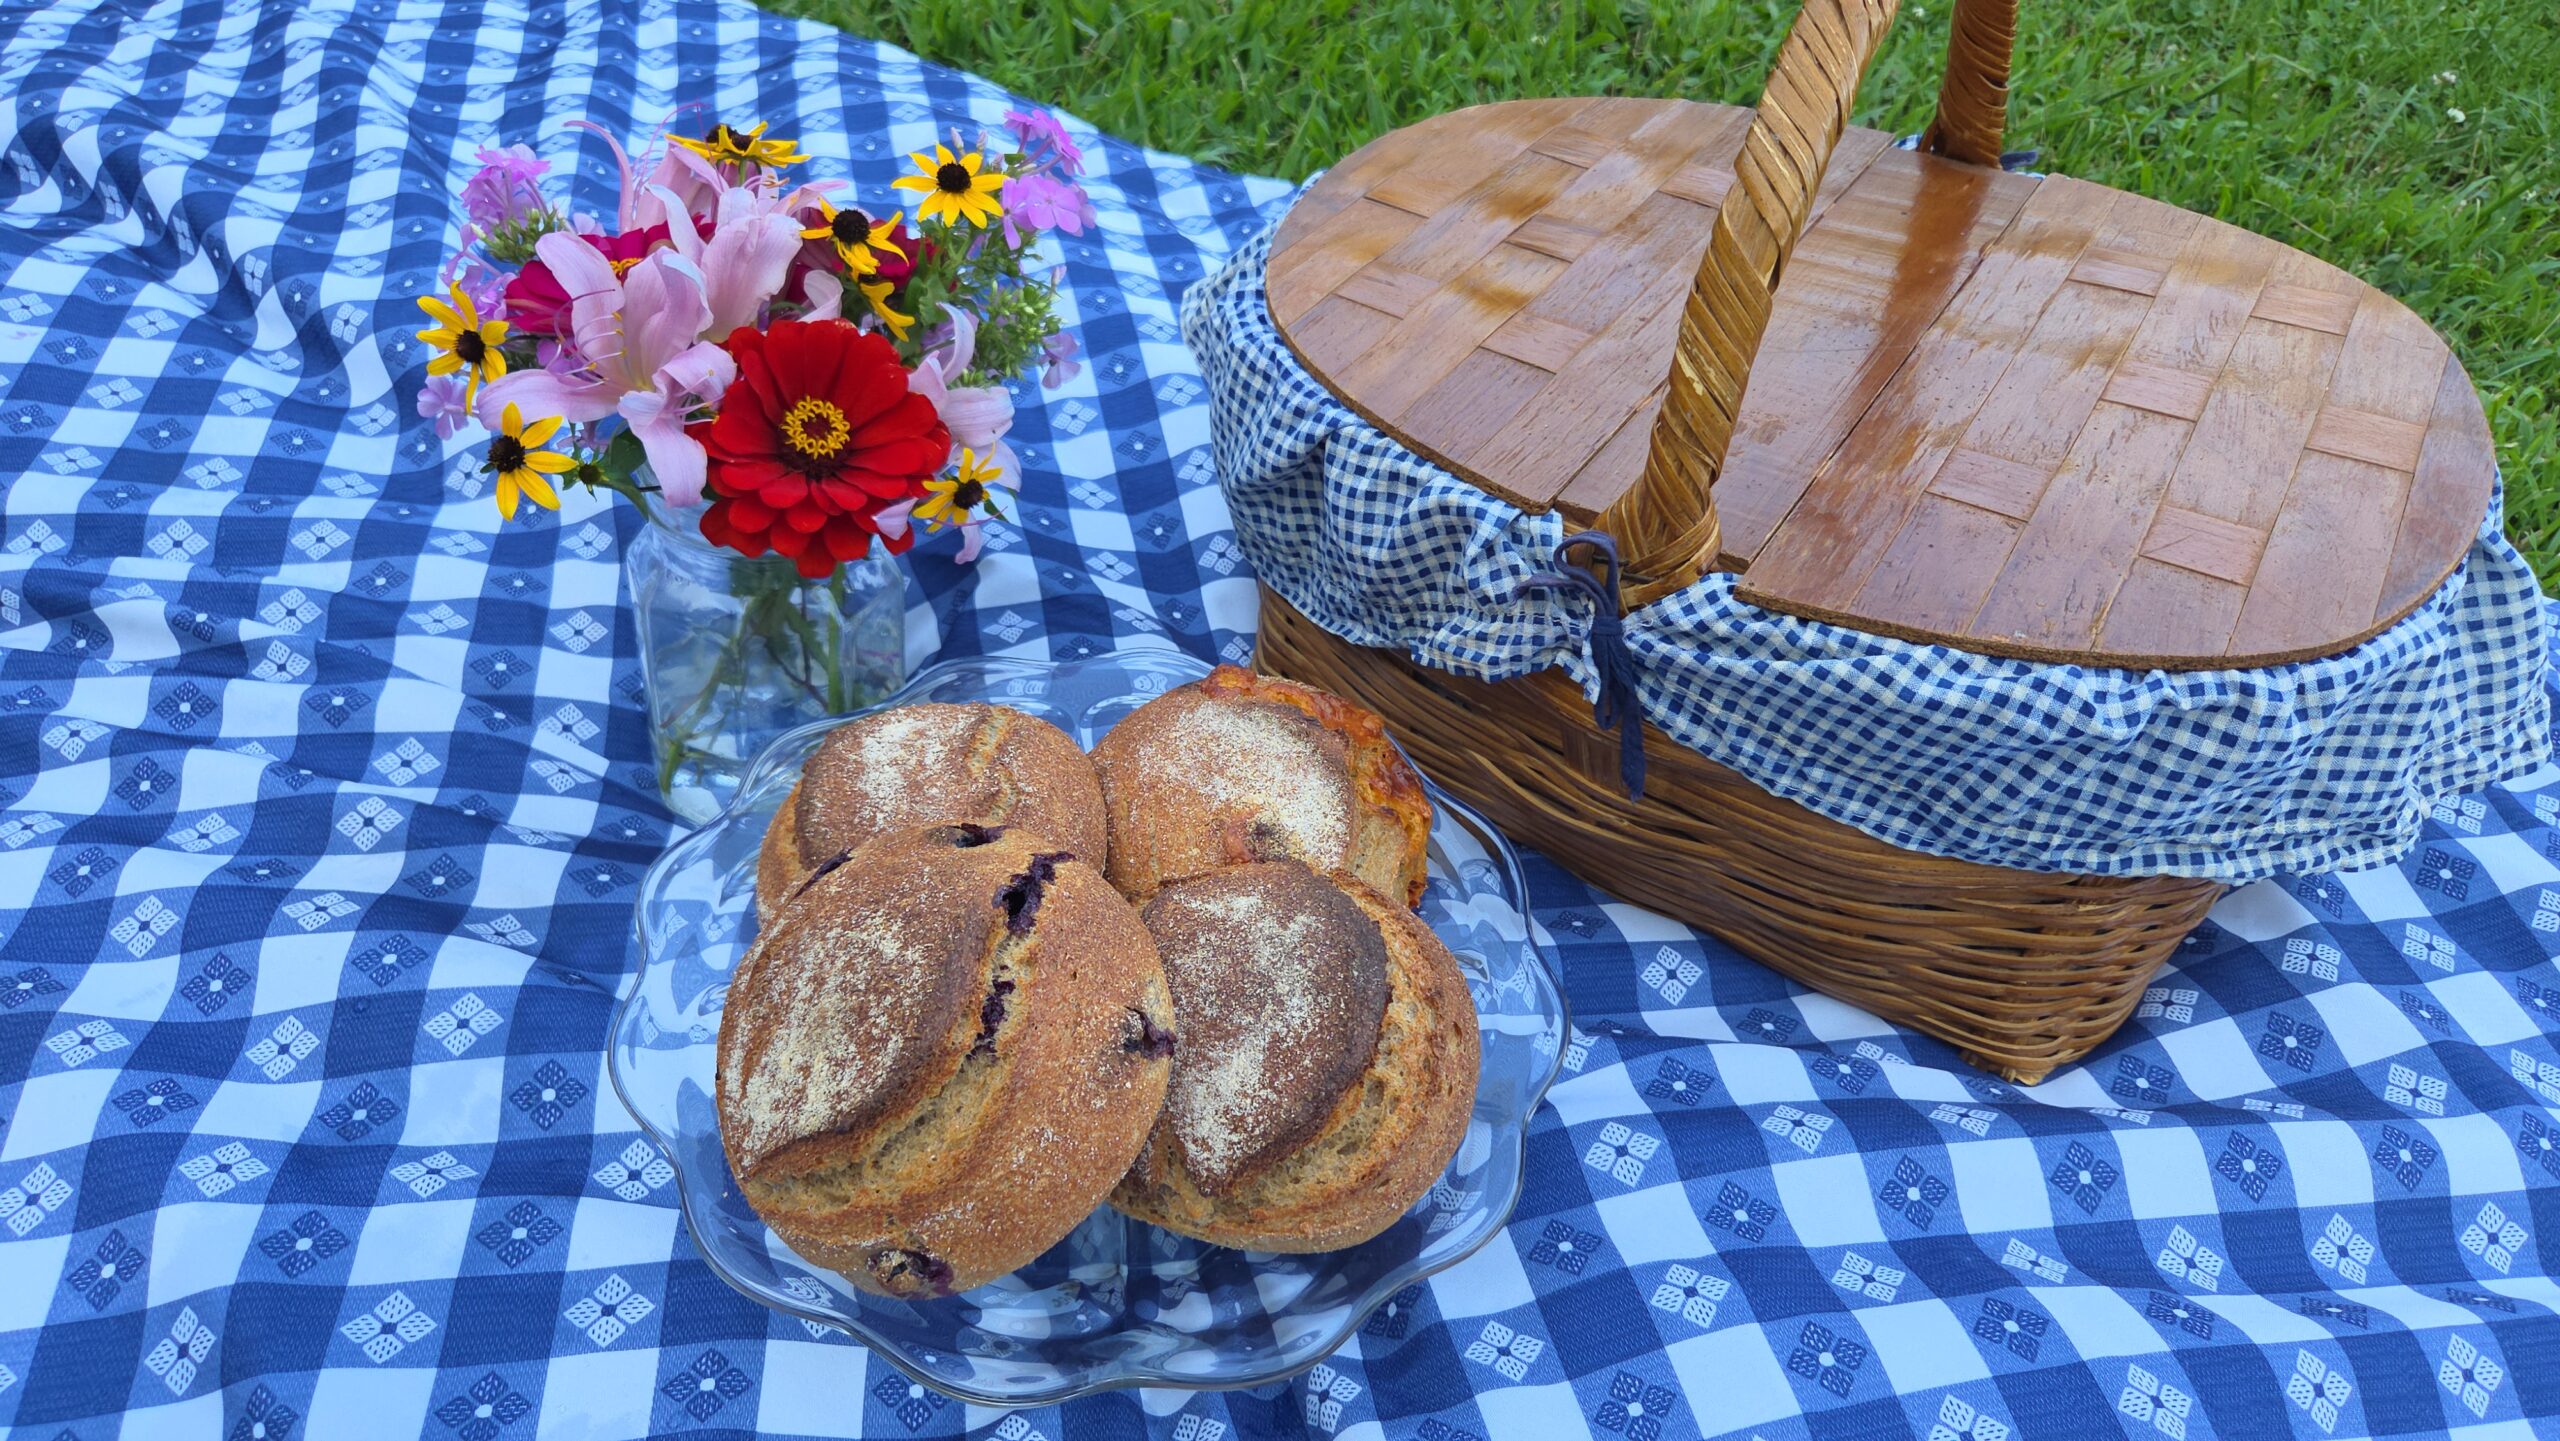
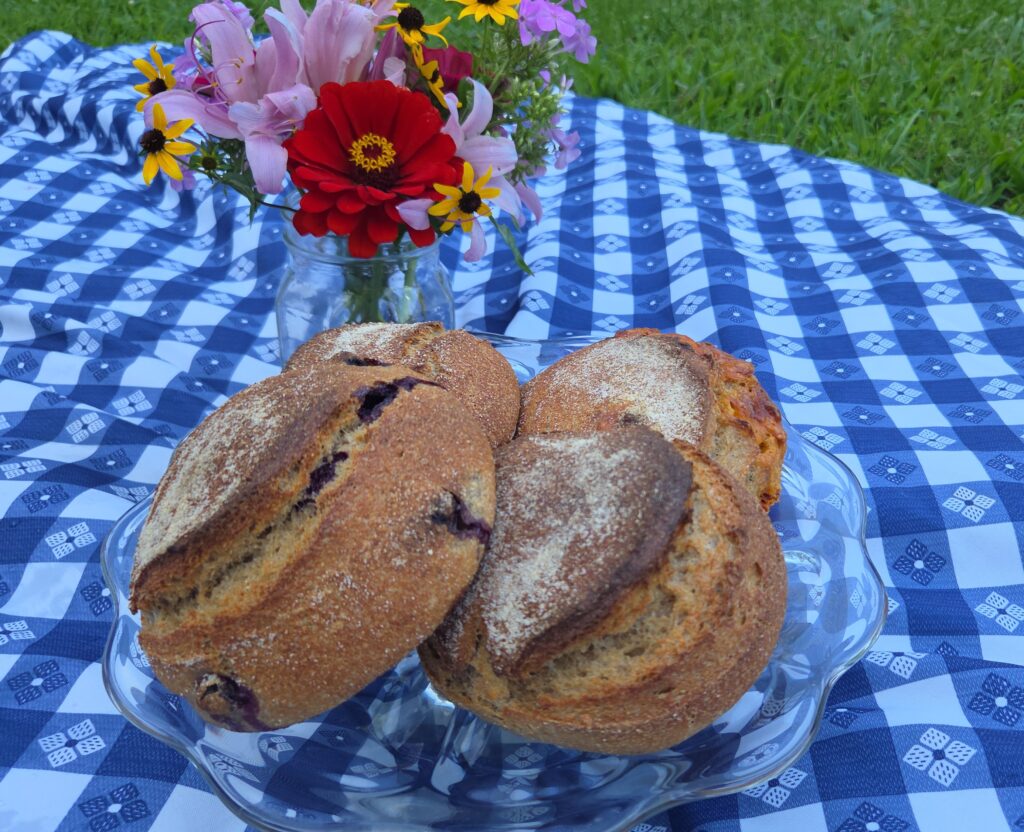
This has been an idea I’ve had for at least 2 weeks! LOL. I have been so excited to do this, and it was so much fun! This is your sign to have a little picnic with someone you love! My little sister helped me set up the picnic, had the idea to pick a bouquet, and helped taste-test the bread. We had a great time, and it was a great excuse to go outside and get out of the house.
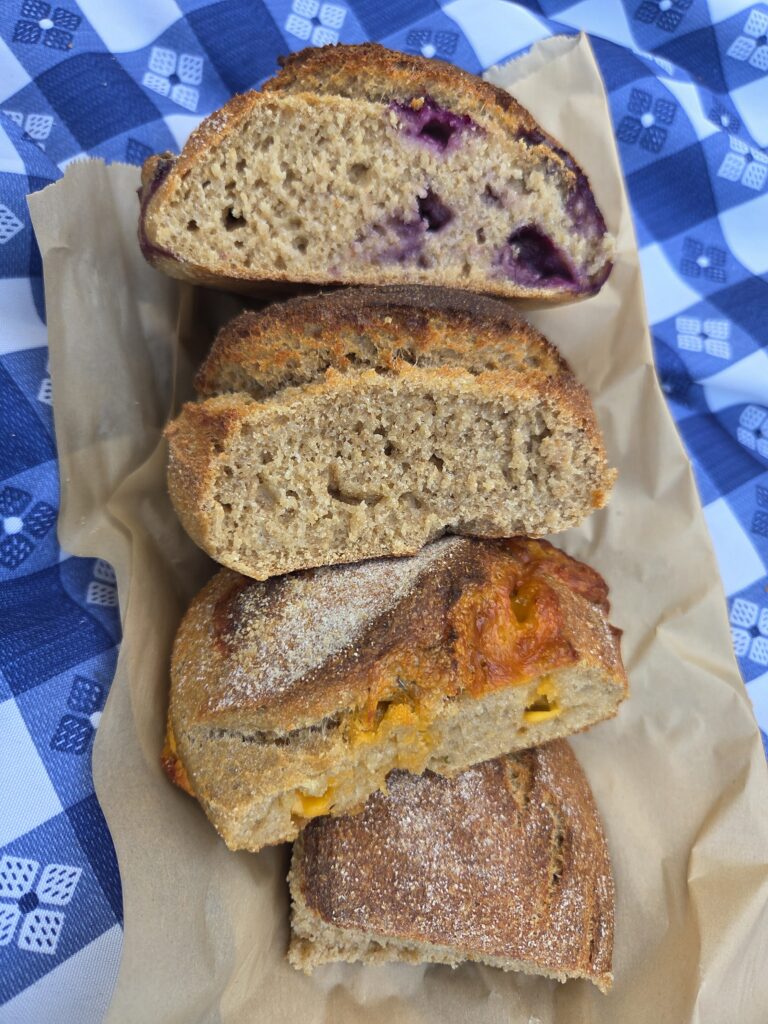
My experience making mini loaves
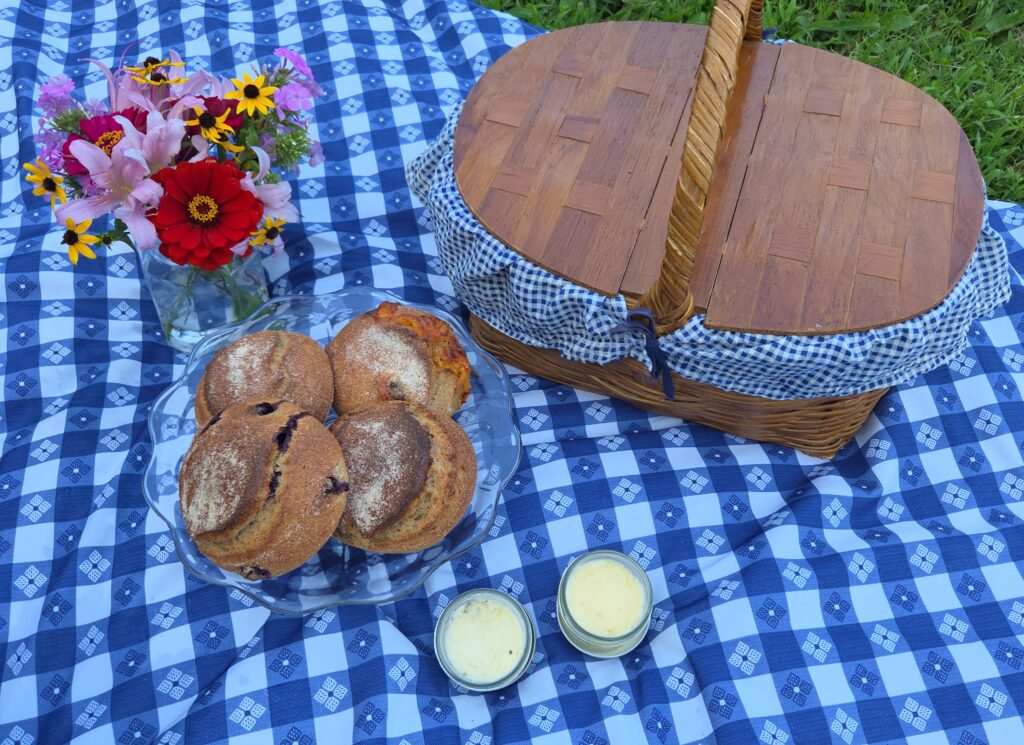
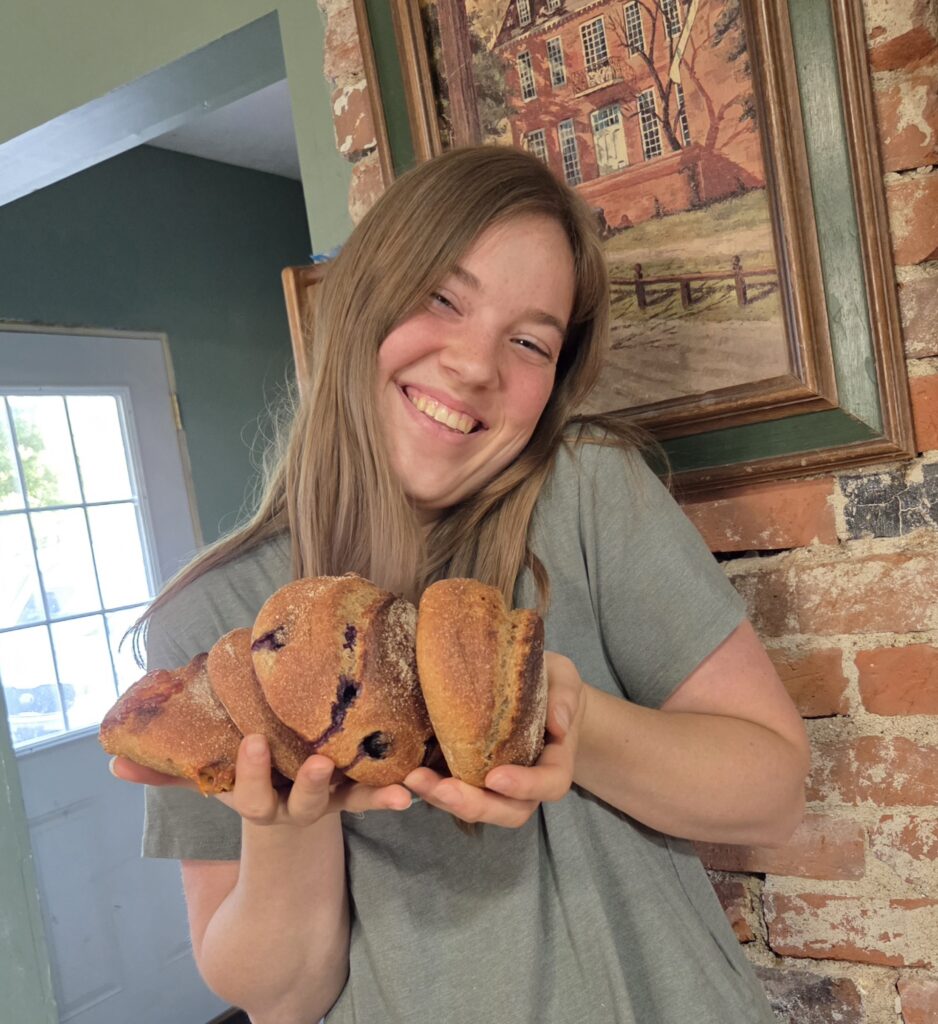
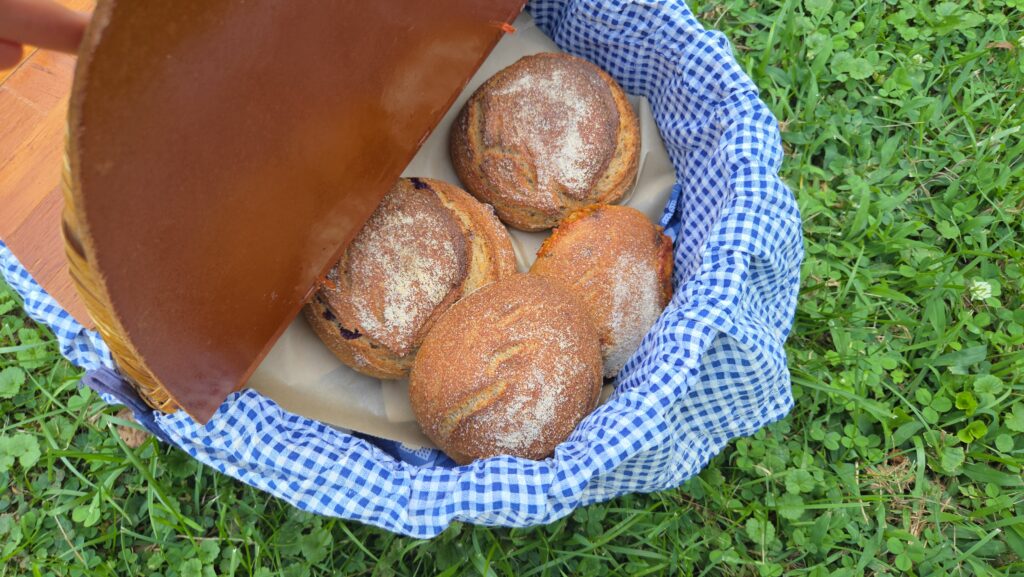
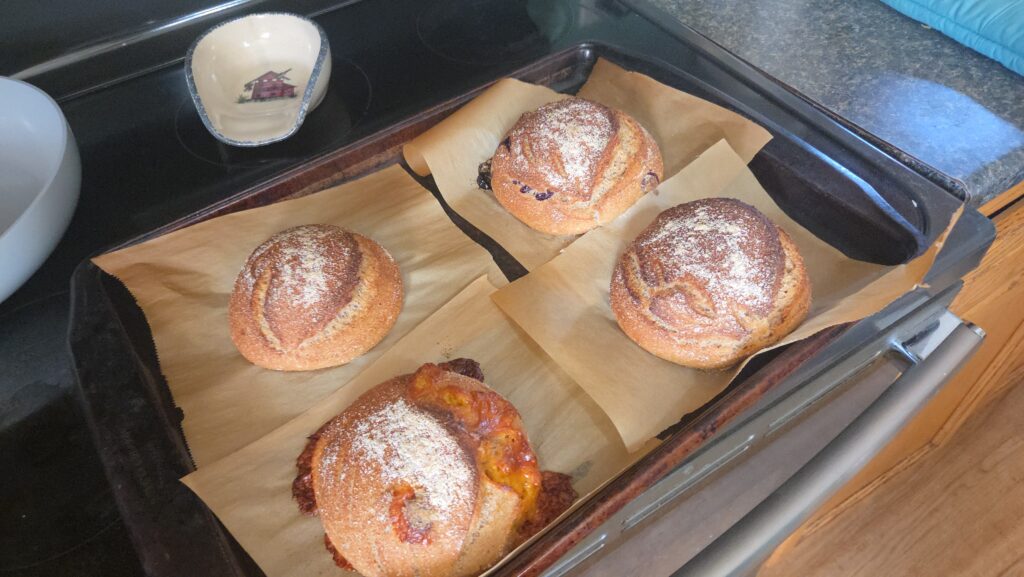
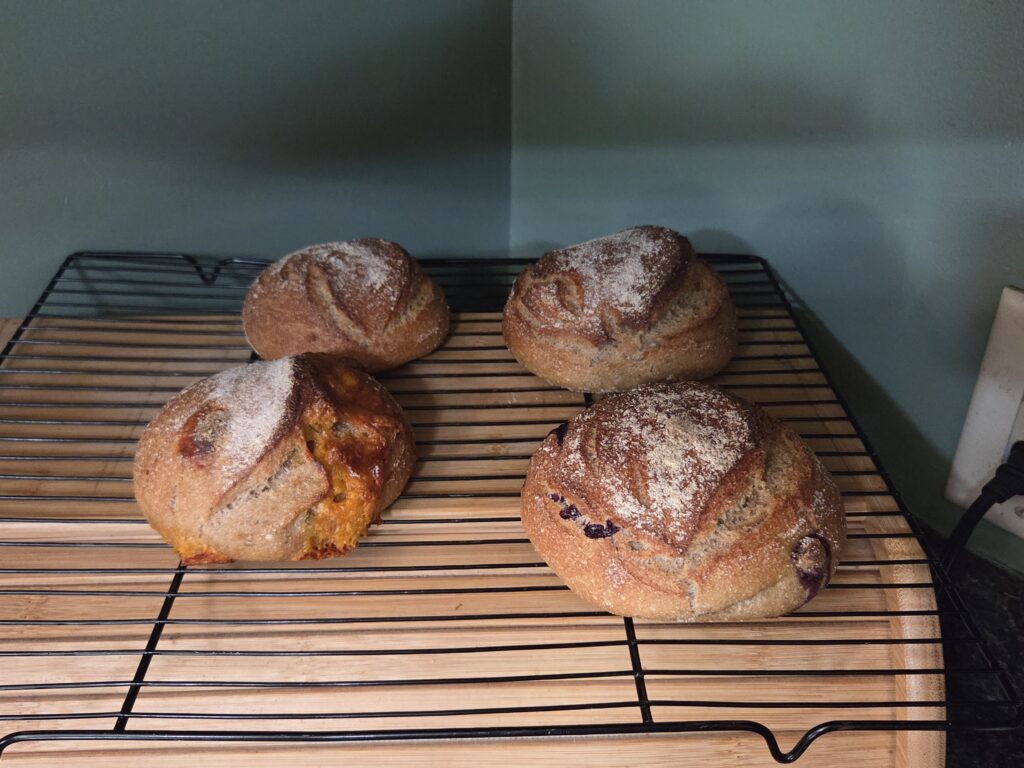
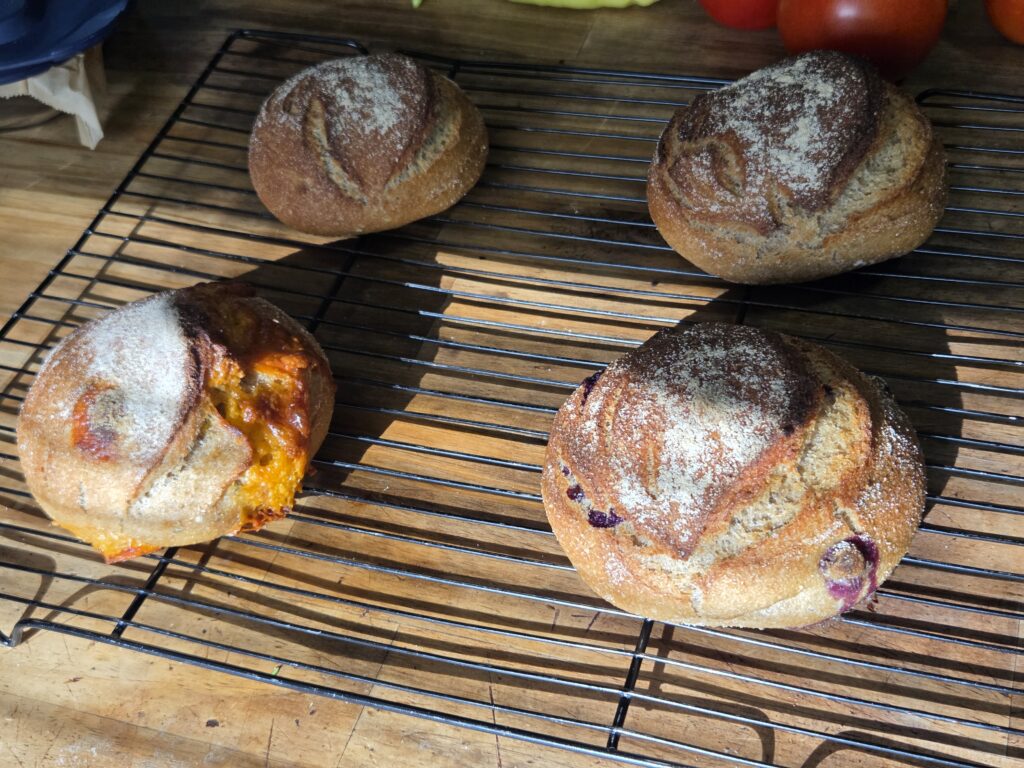
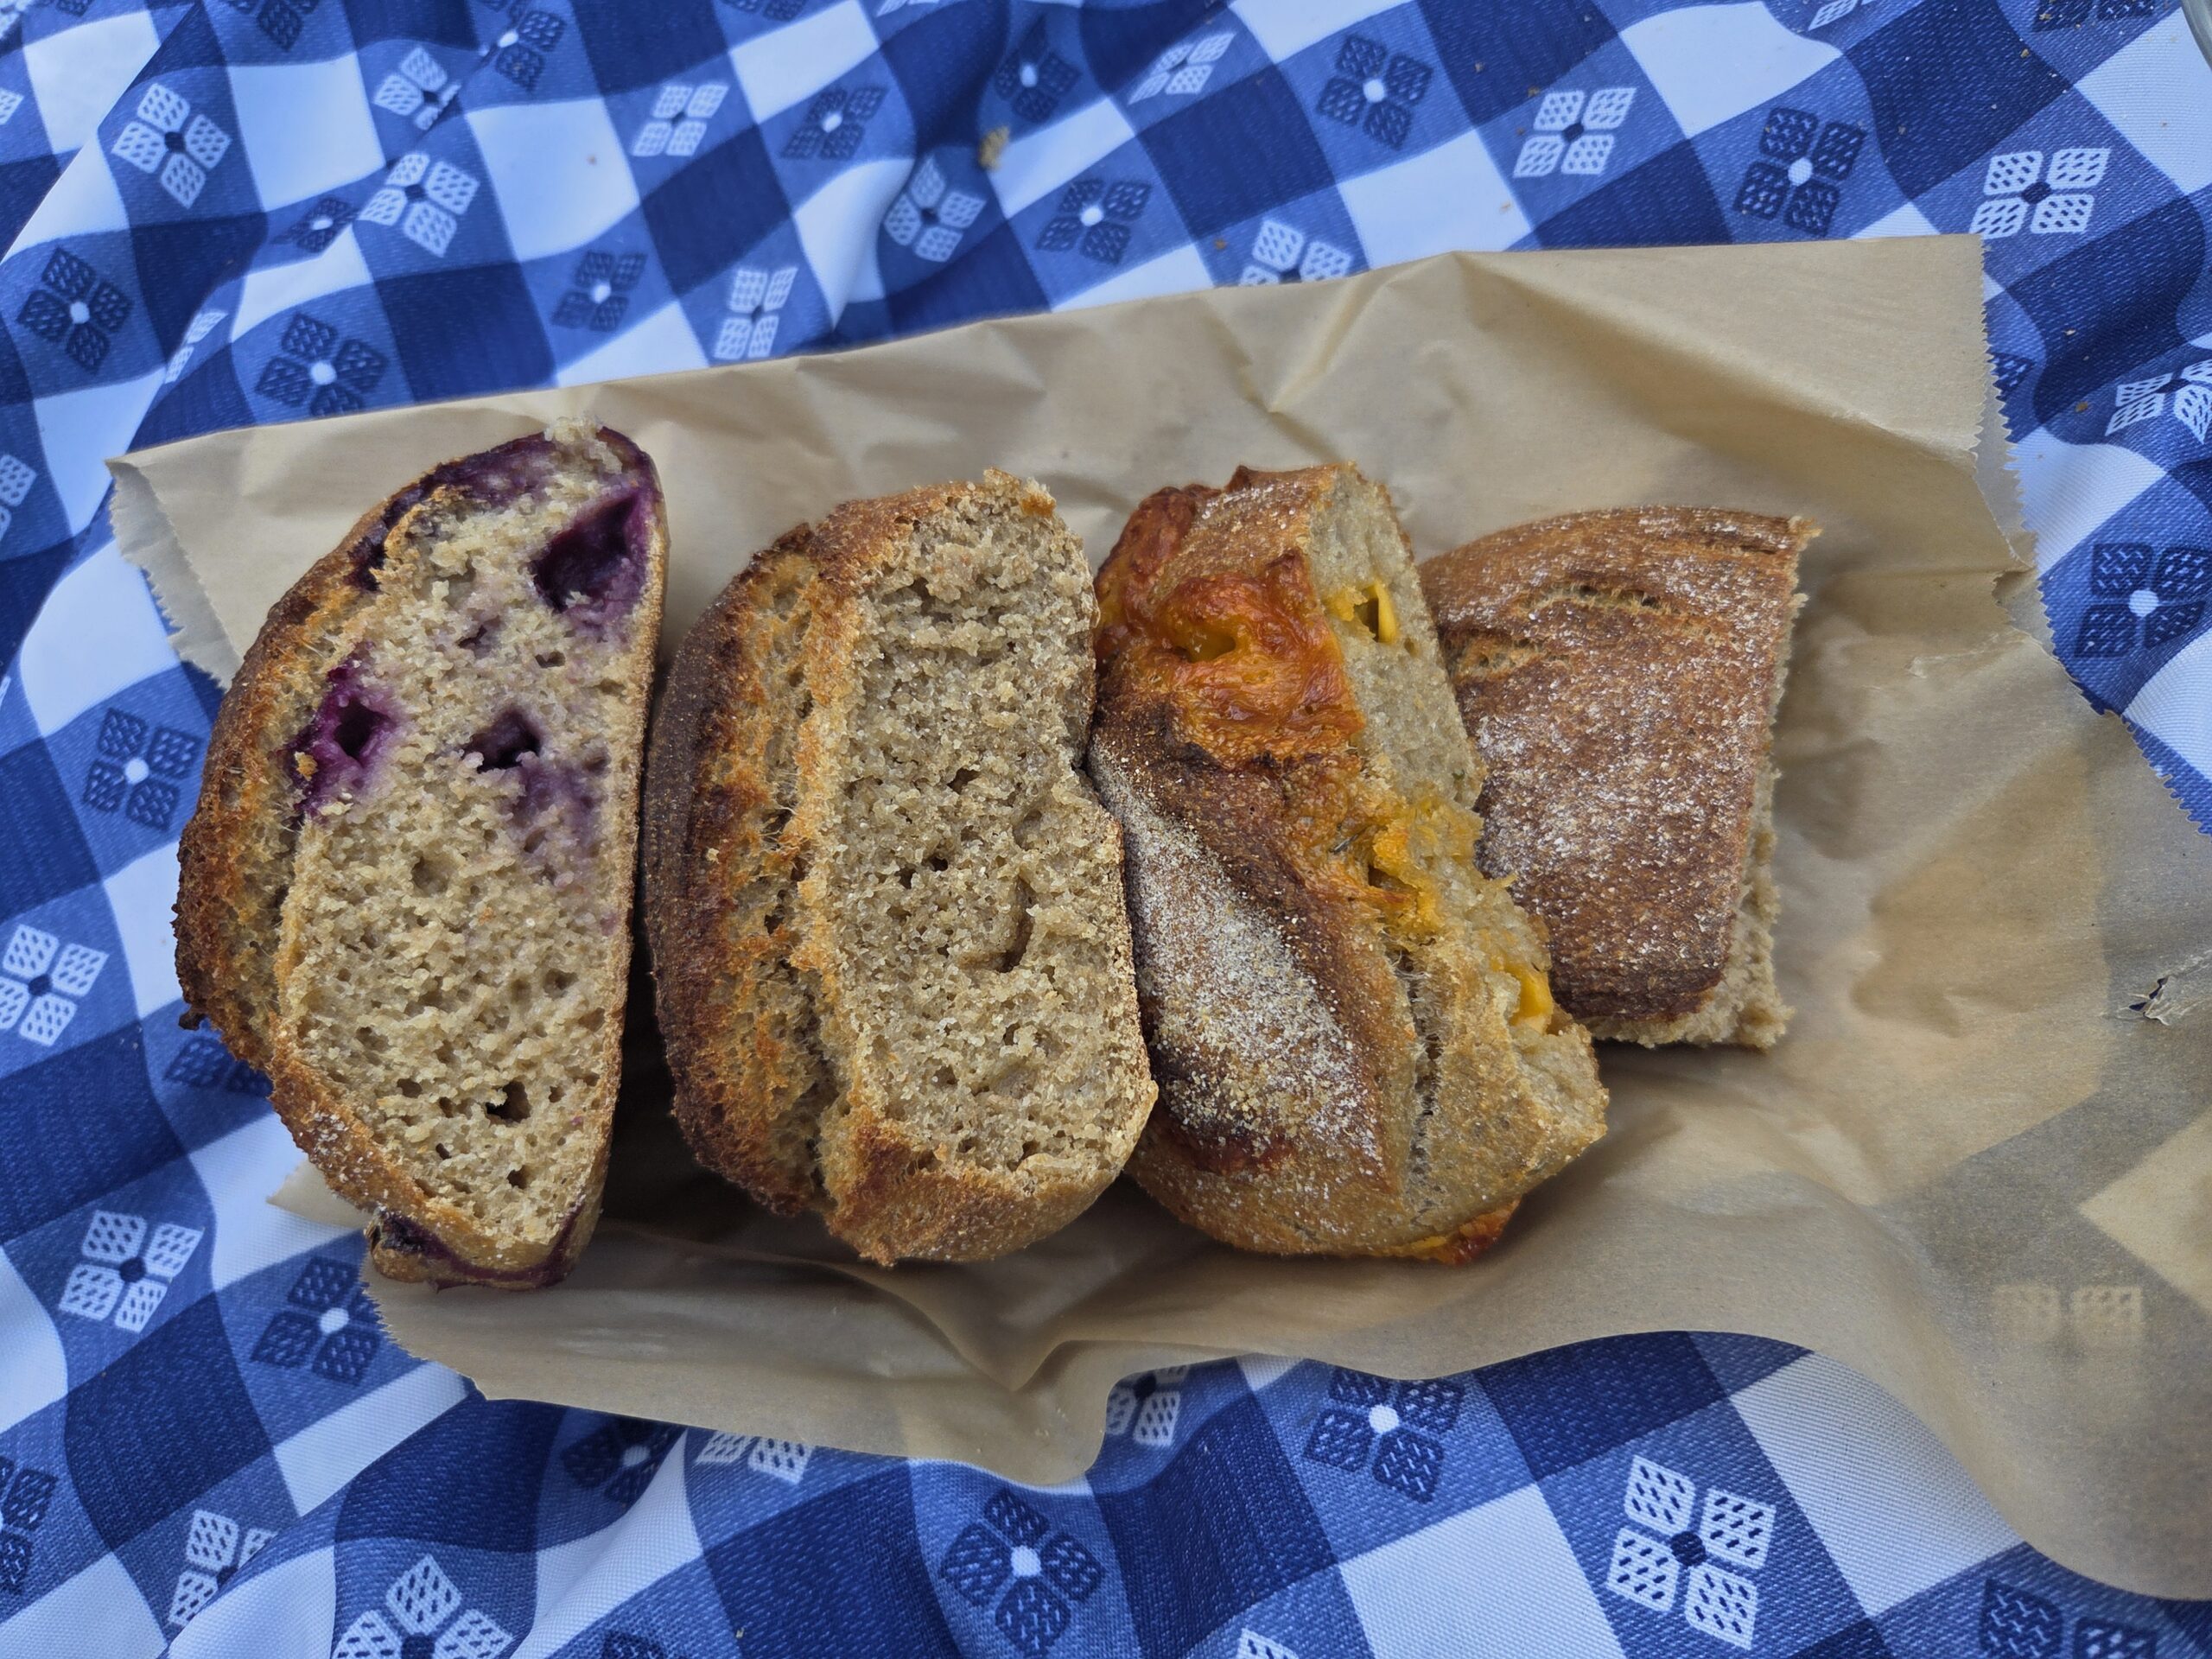
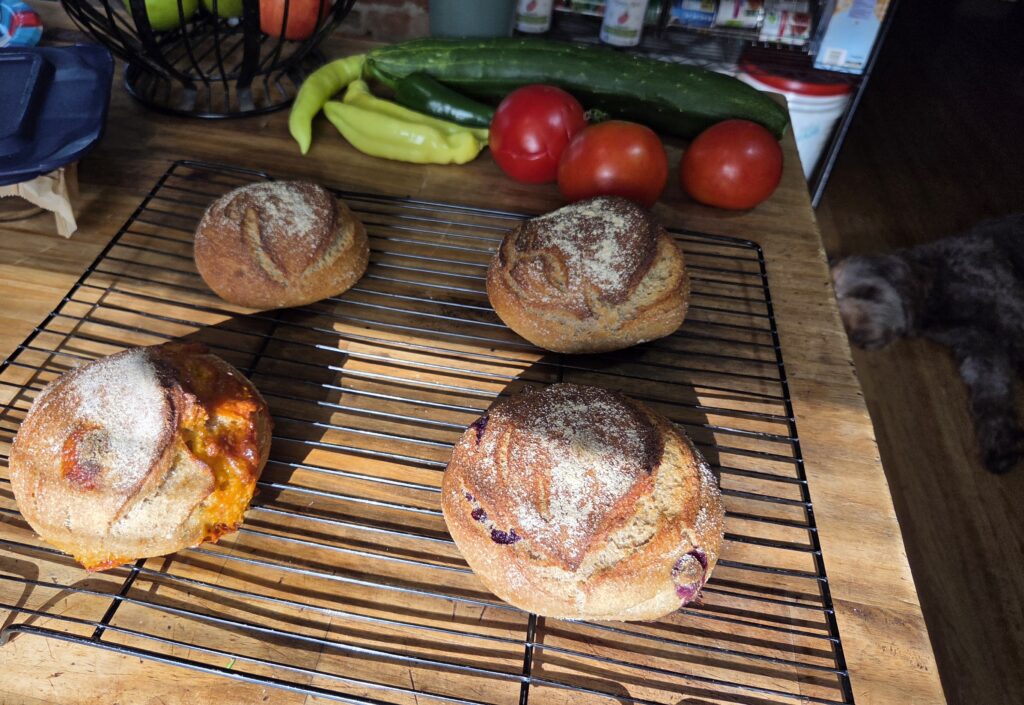
This was my first time I made mini loaves and the flavors I chose I’ve never made before either and I think they were my best loaves I have ever made! I chose to make Italian herb and cheese, classic sourdough, blueberry and cinnamon sugar. (It was supposed to be cinnamon swirl) but that’s ok because it tastes delicious!
Flavored Butter
I made two different flavored butters: rosemary garlic and honey butter! They are so good! If you try either of these, I highly recommend trying the rosemary garlic! The recipes below are for small batches. If wanting to make bigger batches, I would double it and then just go by taste on how you like it.
Rosemary garlic butter
- 1/2 stick softened butter (or a 1/4 cup)
- A sprig of minced rosemary or 1tsp
- 1/4 tsp. minced garlic
- 1/4 tsp. lime juice
- pinch of salt and pepper to taste.
Honey Butter
- 1/2 stick softened butter (or a 1/4 cup)
- 1Tbs honey
- Pinch of salt
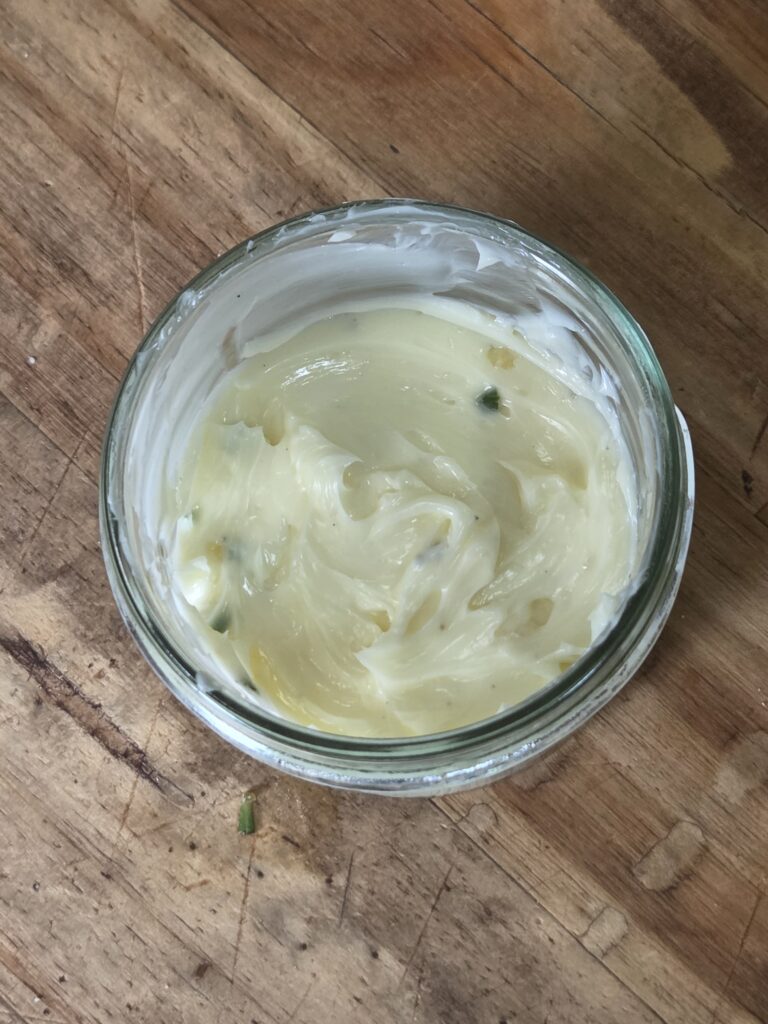
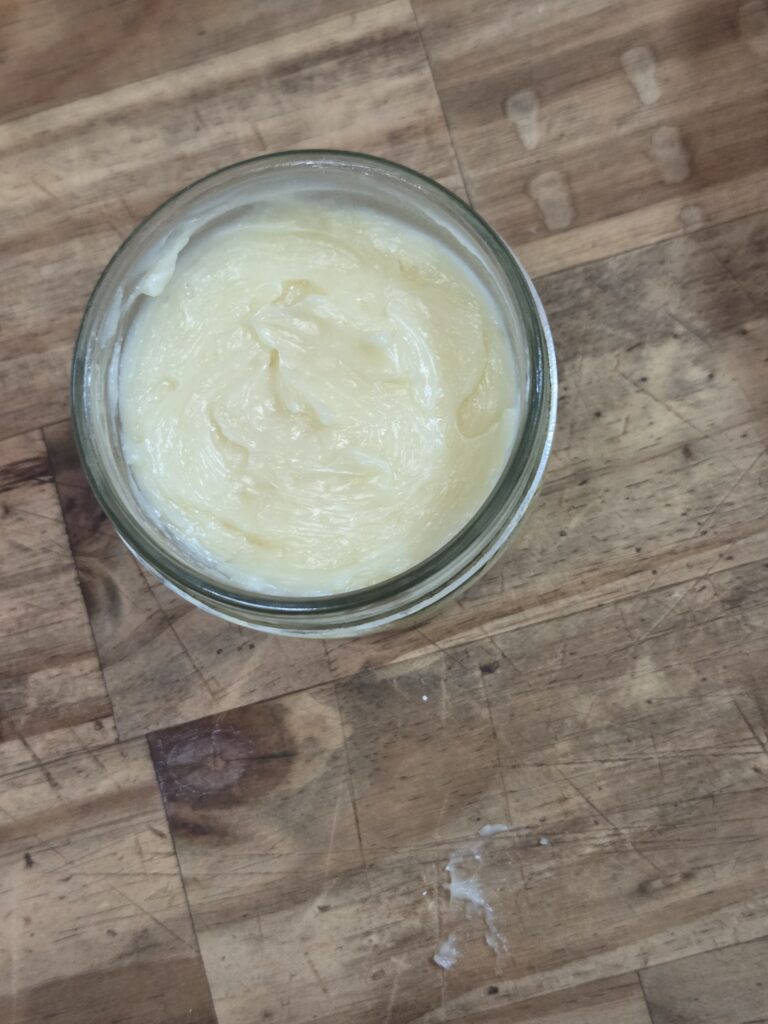
Shaping the Loaves
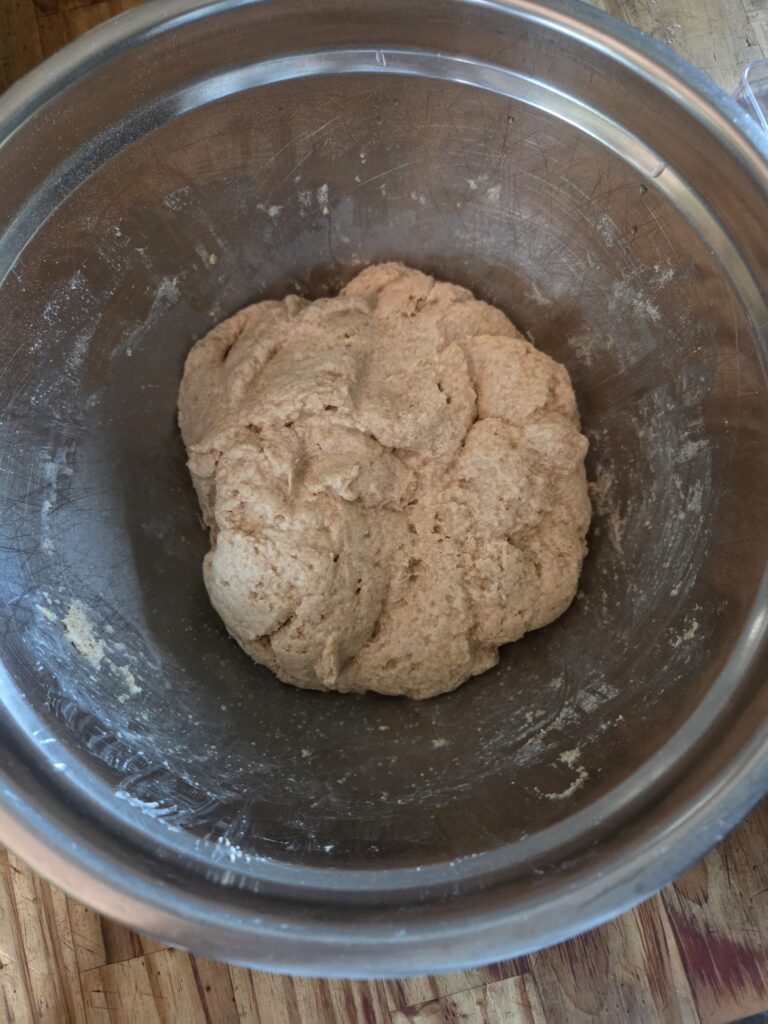
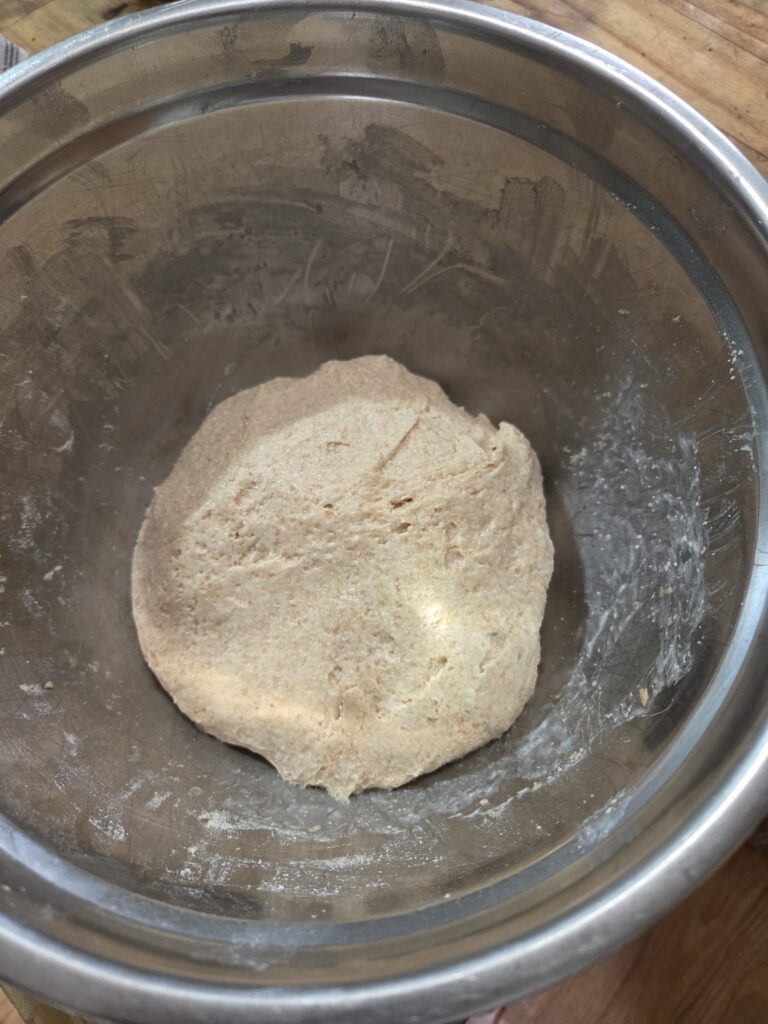
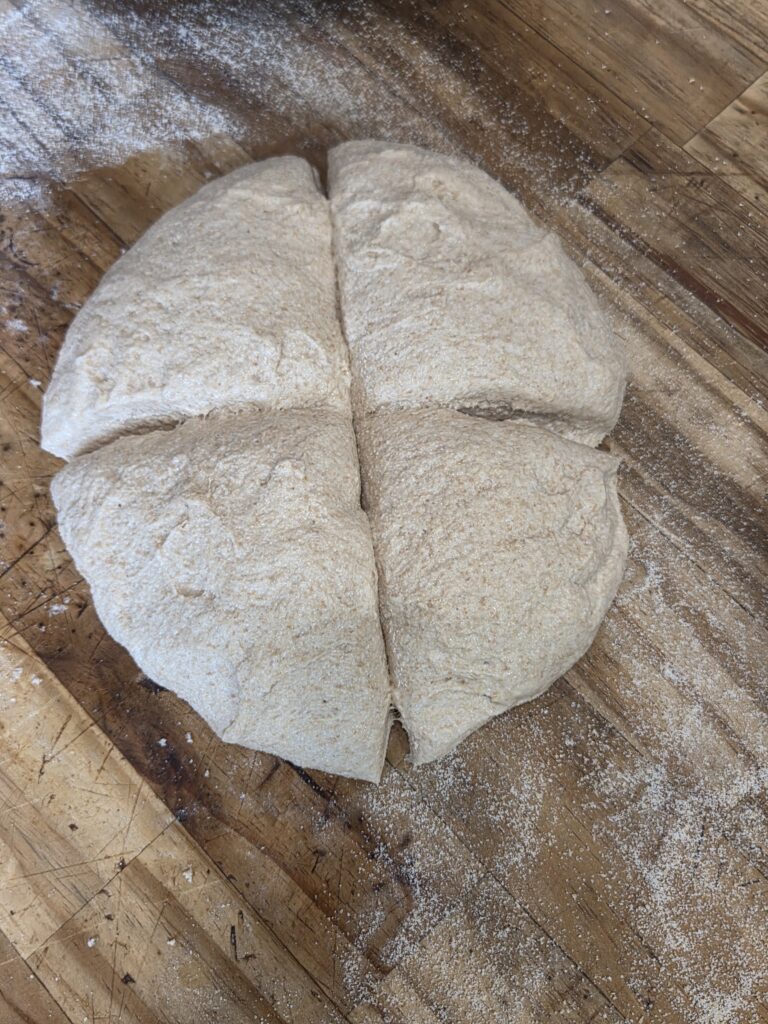
I used Grains in Small Places sourdough recipe as the base. I followed that recipe as normal. I used 1/2 hard white wheat and 1/2 hard red wheat, which is my favorite ratio for sourdough bread. I did 4 sets of stretch and folds every 30 mins, and 2 sets of coil folds, then let the dough rest for an hour. After they rested, I separated the dough into four sections and then put the inclusions in each. I placed them each in small dishes and let them rest 30 minutes after shaping. Next, I shaped them again and placed each dough loaf in the fridge for 3 hours. While the loaves proofed, I prepared the butter. Make sure it is softened so you can easily mix it together. Then you can place your butter in the fridge.
The first 2 photos is before the bulk fermentation
Baking the Loaves
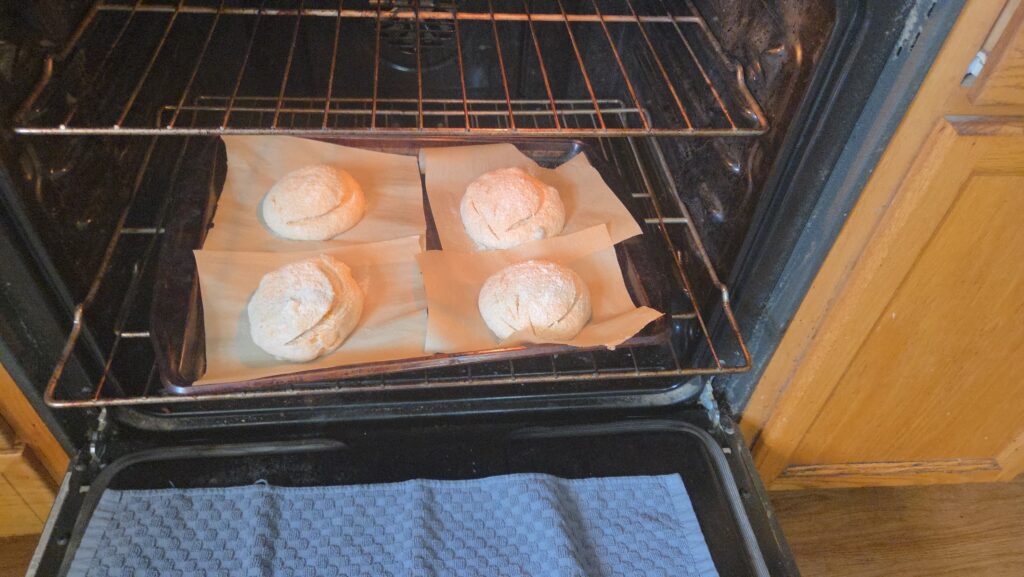
I chose to open-bake the loaves; I preheated the oven 10 minutes before the dough was proofed, with the 2 baking sheets inside. Once preheated, I took my loaves out of the fridge and scored them. Then I placed each loaf on the top baking sheet. In the bottom sheet, I carefully poured the water in. Make sure you place a towel over the glass on your oven door because it can shatter. I baked the loaves for 30 minutes with steam, then I took the water pan out and lowered the oven temp to 450*F and baked them for 15 minutes. Baking time may vary, depending on the size of your loaves, so just make sure you check on your bread to determine how long it needs to bake.
I hope this inspires you to go outside, enjoy the sunshine, and have a picnic!
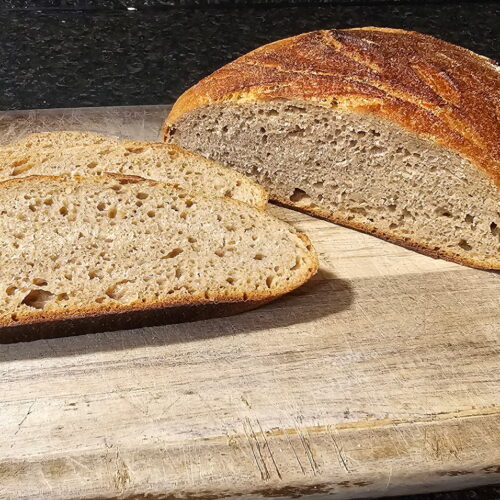
Fresh-Milled Flour sourdough bread
Equipment
- 1 Dutch oven Unless choosing to open-bake
- 1 large bowl
- towel or bowl cover
- kitchen scale
Ingredients
- 500 grams Fresh-milled flour I used ½ hard white and ½ Hard red wheat
- 450 grams Non-chlorinated, room temp. water
- 12 grams salt about 2 tsp.
- 115 grams sourdough starter ½ cup
Instructions
- First, make sure your starter is active and has been fed between 8 and 12 hours.
- Mill your flour. I milled ½hard white wheat and ½ hard red wheat.500 grams Fresh-milled flour
- In a large bowl, combine the water and starter.450 grams Non-chlorinated, room temp. water, 115 grams sourdough starter
- Next, add the flour and salt, and mix until a shaggy dough forms. Cover and set aside for 30 minutes.12 grams salt, 500 grams Fresh-milled flour
- After 30 minutes, you can start the first round of stretch-and-folds. Stretch your dough as far as it can without ripping. Turn the bowl and stretch and fold all the way around. This will begin the process of forming those air bubbles you want. Cover and let rest for another 30 minutes.
- Repeat the stretch and folds 4 times every 30 minutes. Then 2 stretch and folds an hour apart. The more you perform the stretch and folds, the stretchier the dough should be.
- Once the stretch and folding process is done, Gently turn out your dough on a lightly floured surface.
- Gently flatten the dough into a rectangle. Fold both long ends into the middle and then roll up the dough using surface tension. Then fold both ends and form a round loaf shape. Creating surface tension.
- Place in a floured banneton, seam side up. "Stitch" the seam together, cover, and place in the fridge to proof for 3 hours.
- Ten minutes before the cold proof is done, preheat your oven to 480℉ with the Dutch oven inside.
- Once the oven is preheated, take your banneton out of the fridge and flip the dough onto parchment paper. Sprinkle the top of the loaf with flour and score however you like.
- With oven mitts, take the Dutch oven out of the oven and place your parchment-lined loaf inside. Place a few ice cubes on the outside of the parchment paper inside the Dutch oven. This helps create extra steam to have a better oven spring.
- Place the Dutch oven with the lid on and bake for 35 minutes.
- After 35 minutes, remove the lid from the Dutch oven and bake for 25 minutes.
- When your loaf has finished baking, place it on a cooling rack and allow it to cool for at least an hour before slicing. This is important so that your loaf is completely cooked and doesn't turn out gummy.
- Slice and enjoy!
Notes
- You can store the bread for up to 3 days on the counter. You can store it in a paper bag, plastic bag, or an airtight container.
- You can store the bread in the freezer for up to 4 months. Just slice and place parchment in between each and store in a freezer-safe bag. That way it’s easy to just take a slice and toast it whenever you’re craving some sourdough bread!
